Azure DiskとAzure Filesの利用
演習の概要
このモジュールでは、Azure DiskとAzure Filesを利用した、 コンテナアプリのデータ保存を実行します。
Azure Disk用の永続ボリューム要求(Persistent Volume Claim, PVC)の作成
AROには、Azure Diskを使用するストレージクラス(managed-csi)が、予めデフォルトとして設定されています。 これにより、 Azure DiskのPremium SSD LRS (Locally Redundant Storage. ローカル冗長ストレージ)オプションがすぐに使えるように設定されています。
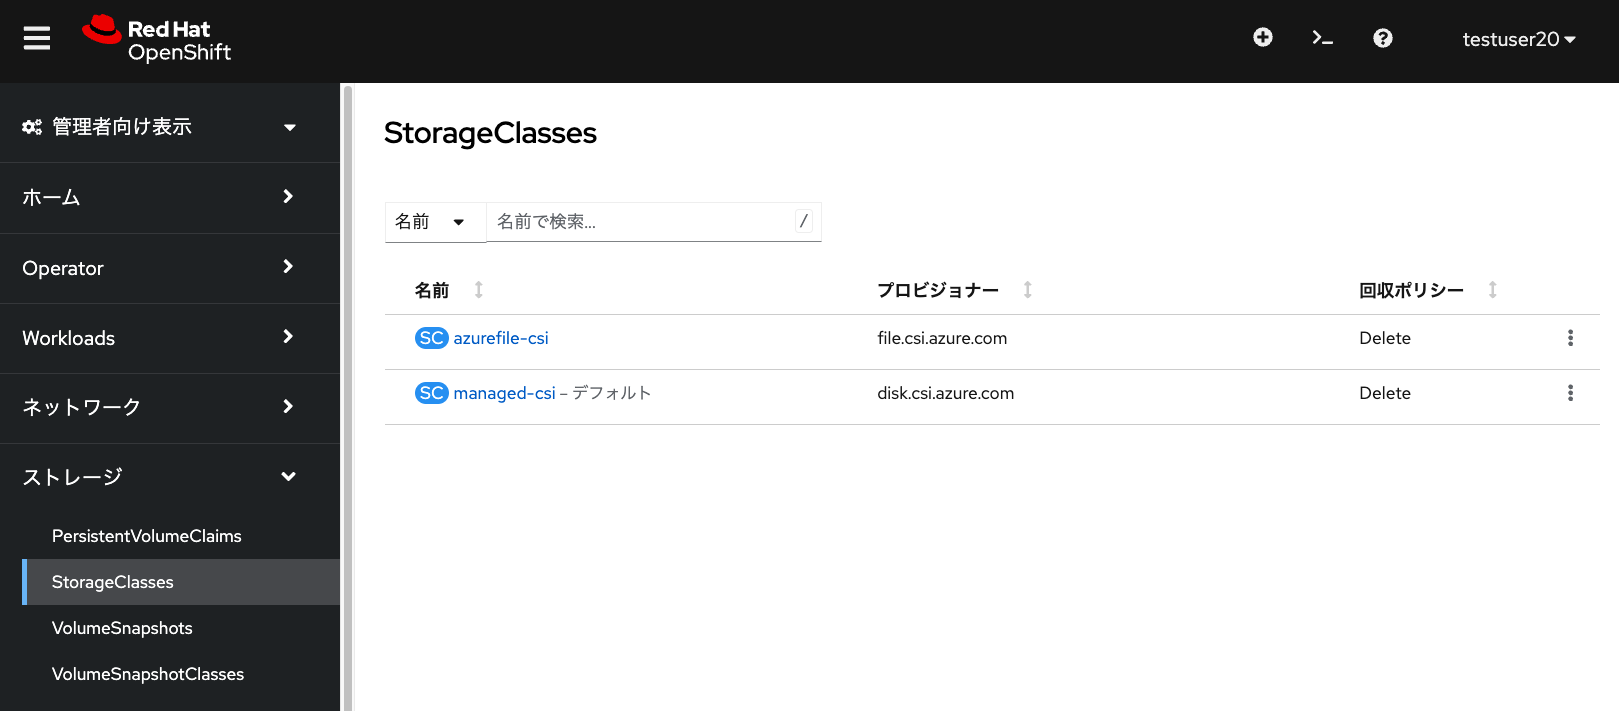
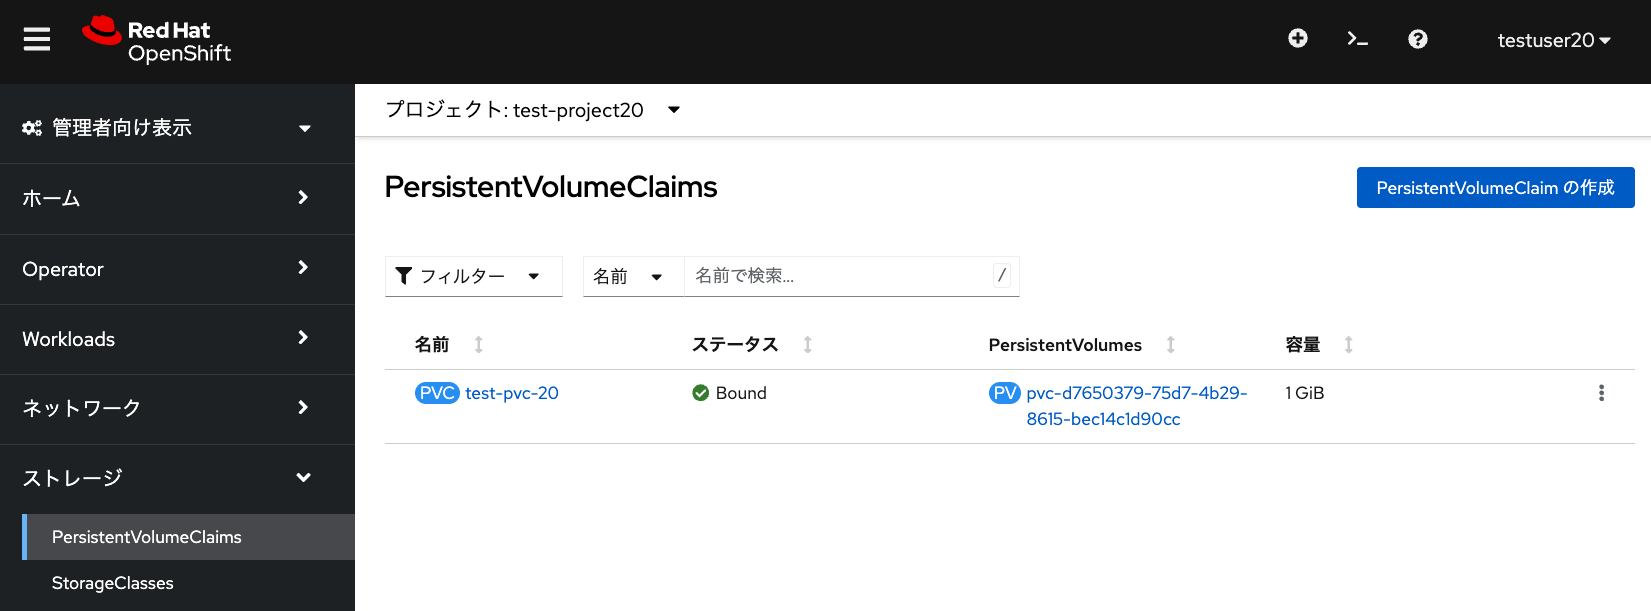
ここでmanaged-csiストレージクラスを利用するために、新しく永続ボリューム要求(PVC)を作成します。 PVCの名前は任意の名前(下記画像の例では、test-pvc-20)を入力し、サイズは1GiBと指定します。
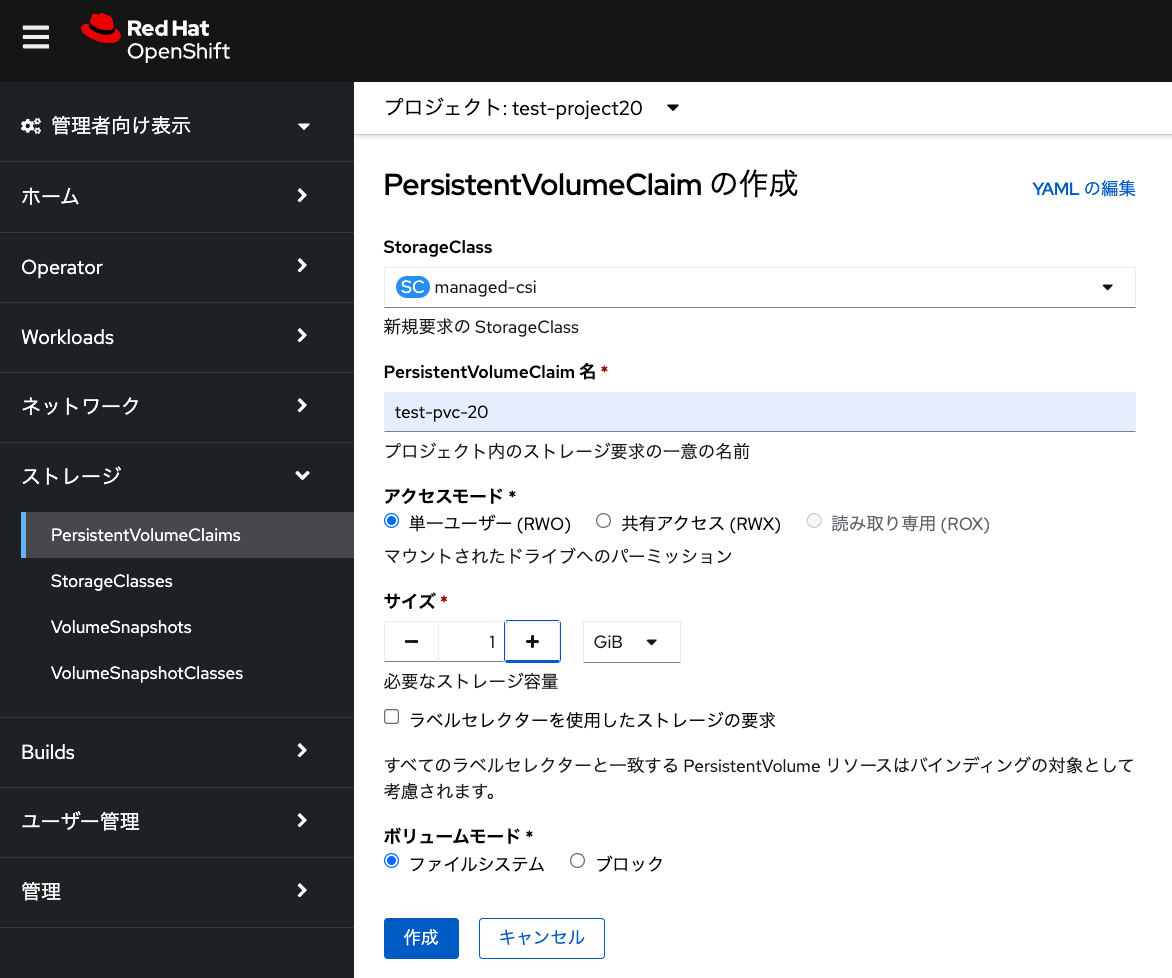
| PVCはプロジェクトという名前空間の中にあるリソースです。 そのため、プロジェクトごとに同じ名前のPVCが存在できます。 例えば、プロジェクト1の中にPVC1、プロジェクト2の中にPVC1を作ることができます。 ただし、1つのプロジェクトの中のリソース名の重複は許可されていないため、 この例の場合だと、プロジェクト1の中にPVC1を2つ作ることはできません。 |
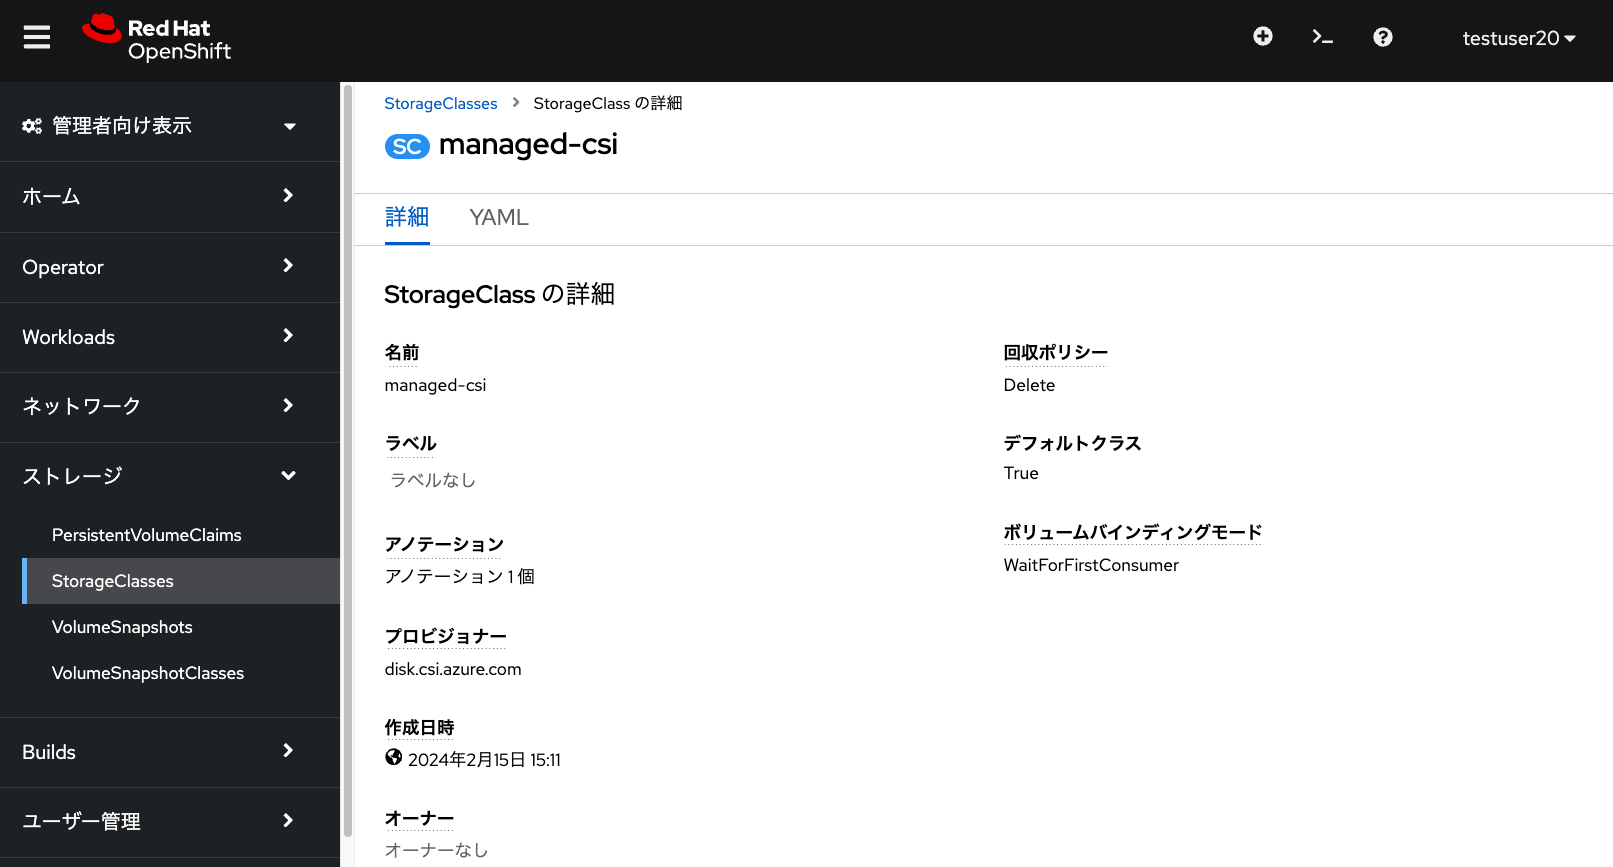
このmanaged-csiストレージクラスは、ボリュームバインディングモードが 「WaitForFirstConsumer」と指定されており、 最初にPodから永続ボリューム要求が利用されるまで、 永続ボリュームの割り当てが行われない(ステータスがPendingのまま)ようになっています。 なお、ボリュームバインディングモードが「Immediate」となっている場合、 PVC作成後すぐに永続ボリュームの割り当てが行われます。

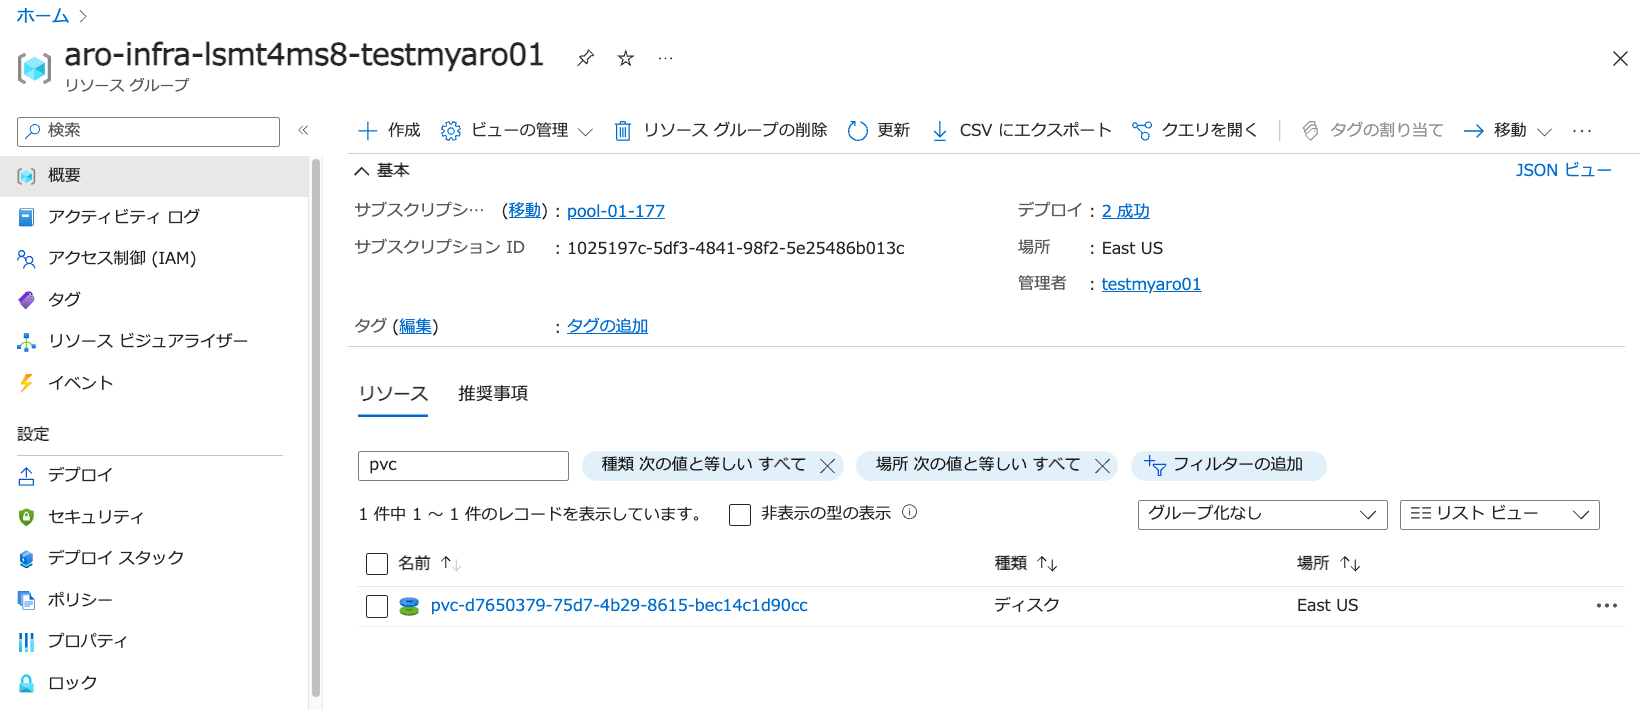
PVCによって作成されたAzure Diskは、Azure Portalからも確認できます。
Azureの aro-infra-XXXXX-<AROクラスター名> リソースグループに、
pvc- という接頭辞が付いたAzure Diskが作成されていることを確認できます。
Azure Disk用のPVCを利用するPodの作成
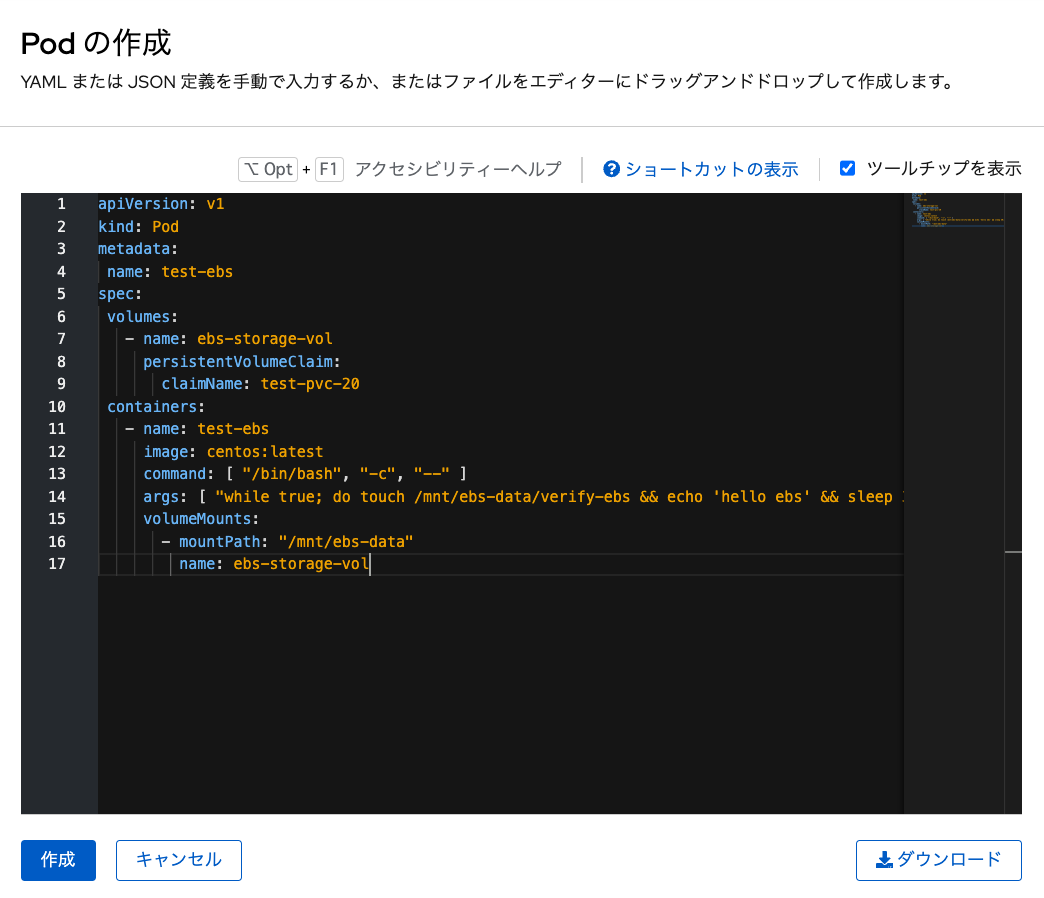
Podを作成します。「Podの作成」から、次のYAMLファイルを入力してPodを作成します。 下記の「claimName: test-pvc-20」となっているところは、作成したPVCの名前に応じて、適宜変更してください。
| PodはKubernetes/OpenShift上でのコンテナアプリの実行単位です。 下記のYAMLファイルにあるとおり、コンテナ(この例ではCentOSコンテナの最新版を利用)や コンテナが利用する永続ボリュームの設定などをまとめたものになります。 Podにはコンテナを複数まとめることもできますが、基本的には1つのPodには1つのコンテナを含むことを推奨しています。 |
apiVersion: v1
kind: Pod
metadata:
 name: test-disk
spec:
 volumes:
   - name: disk-storage-vol
     persistentVolumeClaim:
       claimName: test-pvc-20
 containers:
   - name: test-disk
     image: centos:latest
     command: [ "/bin/bash", "-c", "--" ]
     args: [ "while true; do touch /mnt/disk-data/verify-disk && echo 'hello disk' && sleep 30; done;" ]
     volumeMounts:
       - mountPath: "/mnt/disk-data"
         name: disk-storage-vol
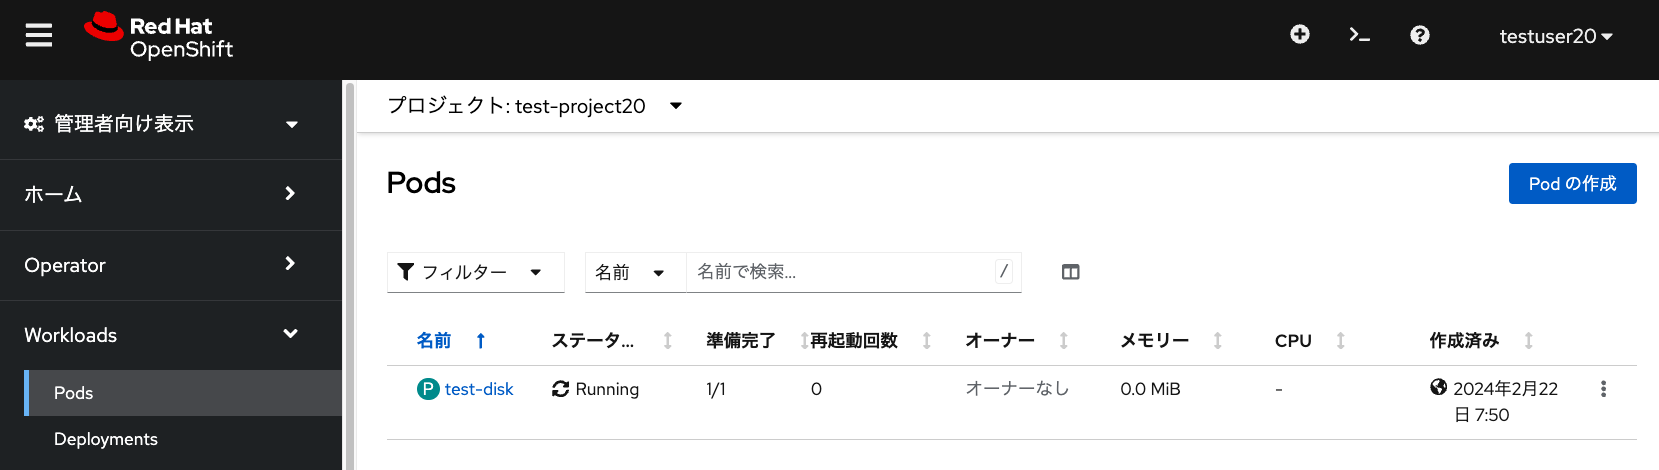
test-diskという名前でPodが作成されて、Podにより「test-pvc-20」PVCが利用されて、 永続ボリュームとして外部ストレージの利用が開始されます。
このPodのログやターミナルから、永続ボリュームのマウント状況や動作状況を確認できます。

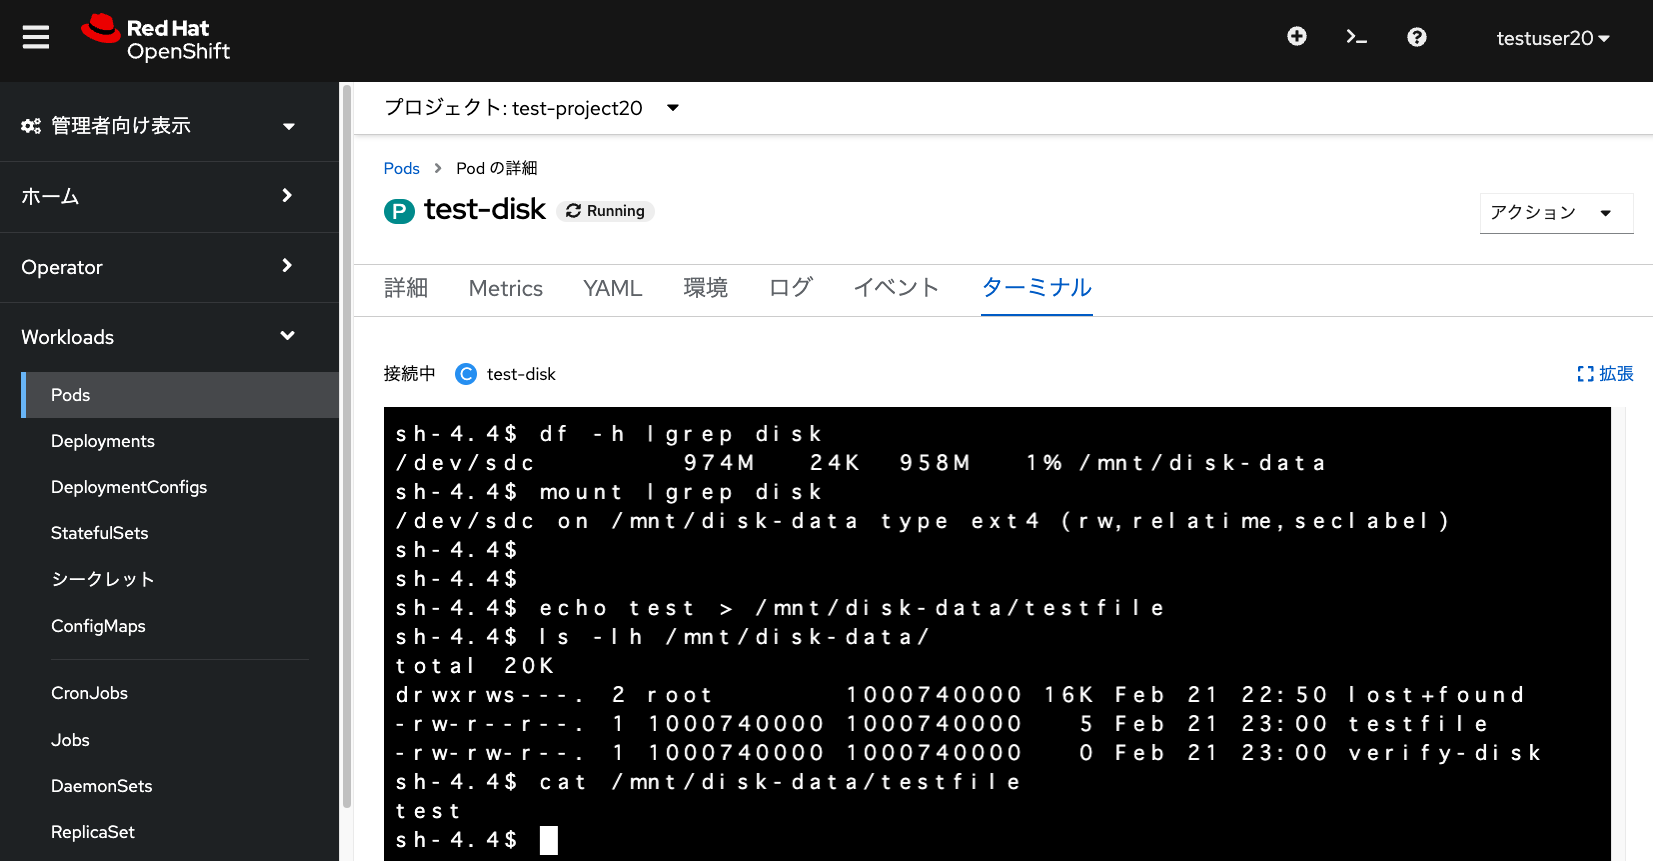
ここで上記画像にあるように、Podのターミナルから、echoコマンドなどで永続ボリュームのマウントポイントである
/mnt/disk-data ディレクトリに、適当なファイルを作成します。
Podを削除(該当Podを選択して、「アクション」→「Podの削除」を選択)した後に、
再度「test-pvc-20」PVCを指定してPodを作成すると、作成したテストファイルが残っていることを確認できます。
Azure Files用のPVCの作成
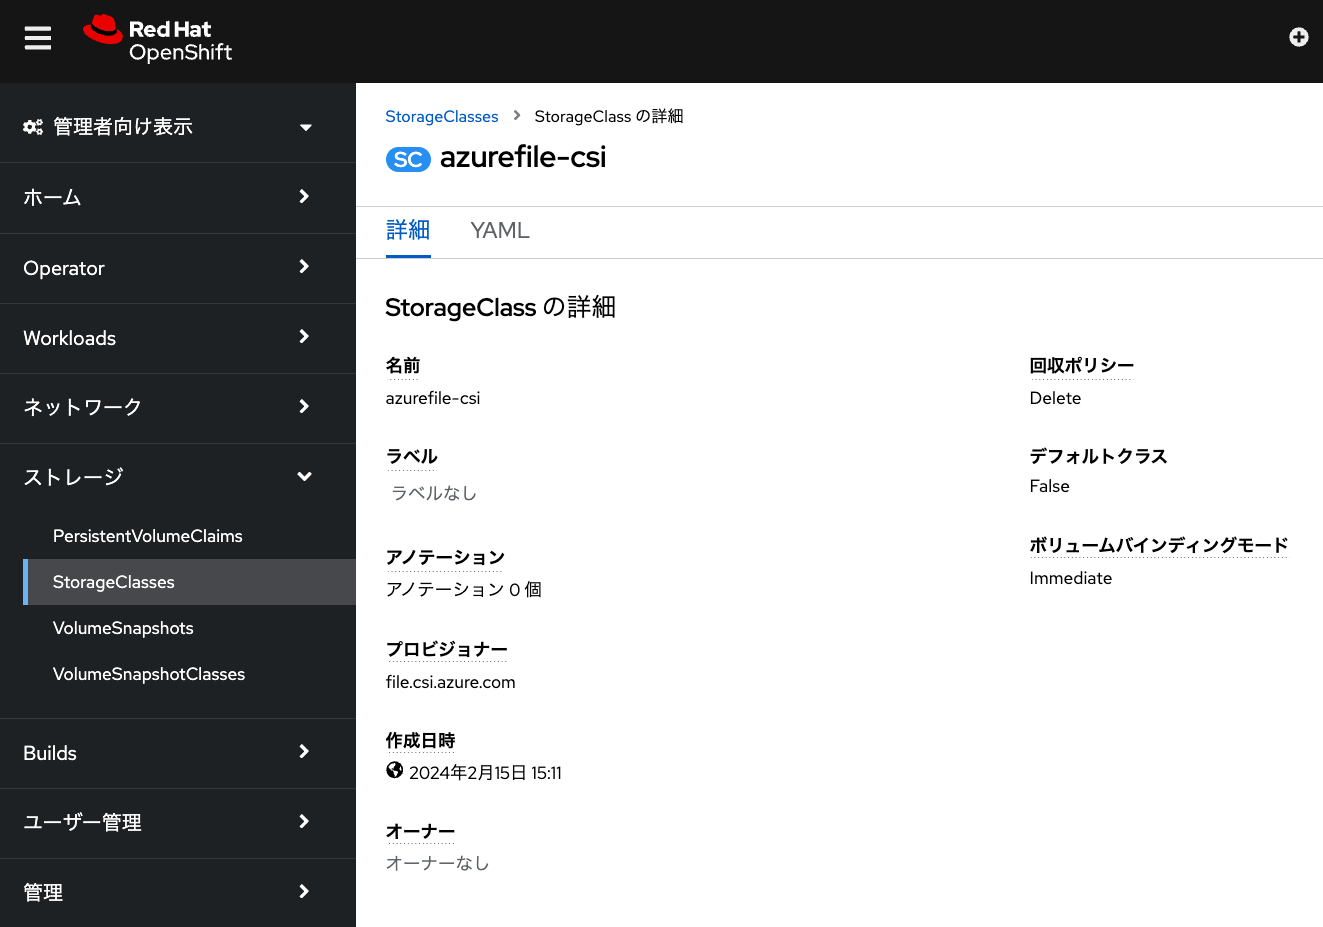
Azure Diskと同様に、Azure Filesを利用するためのストレージクラス(azurefile-csi)が、 デフォルトで作成されています。これはデフォルトのストレージクラスではありませんが、 明示的に指定することで利用できるようになっています。
Azure Diskの時と同様に、azurefile-csiストレージクラスを利用した、 PVCを作成します。このとき、アクセスモードに「共有アクセス(RWX)」を選択します。
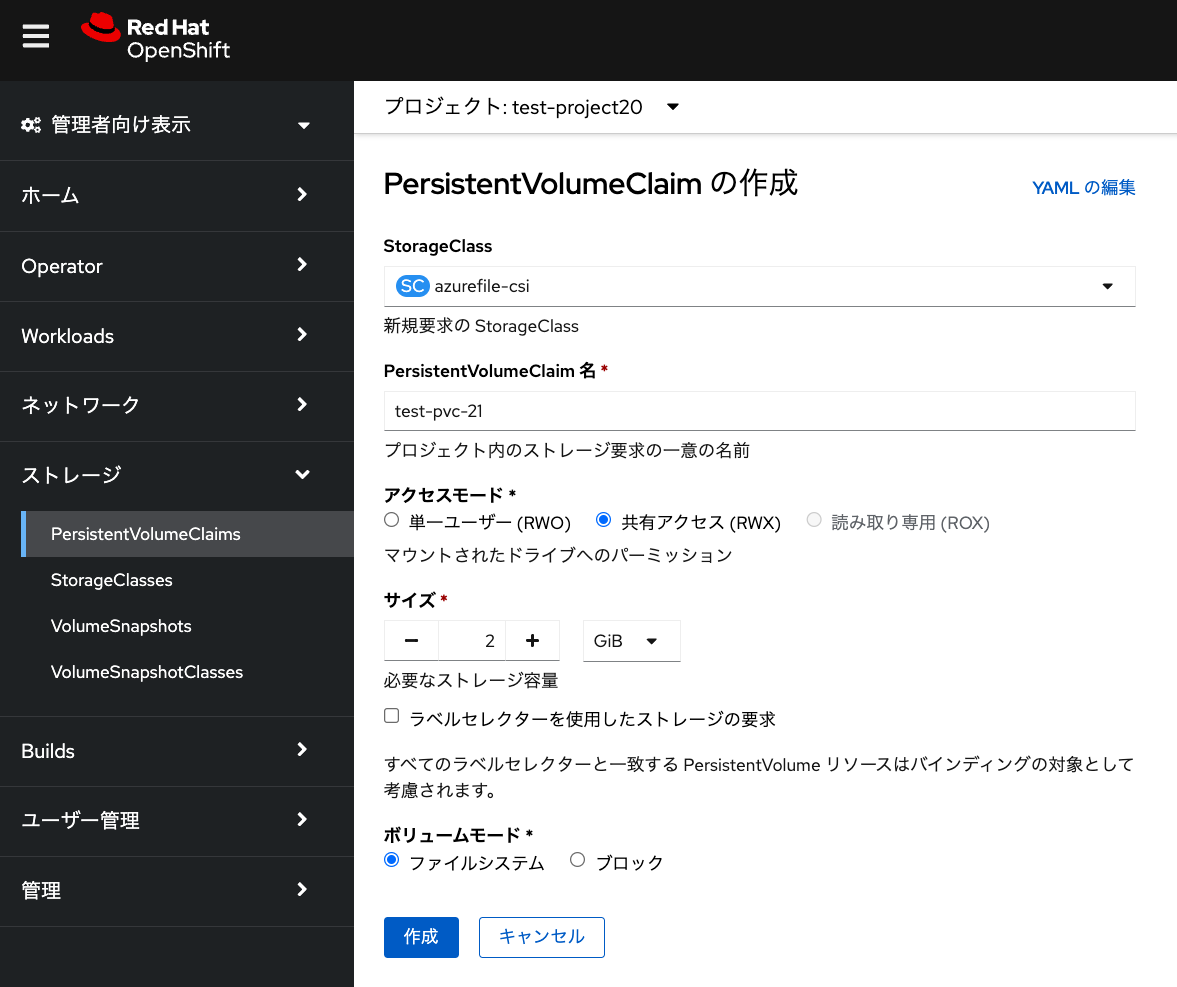
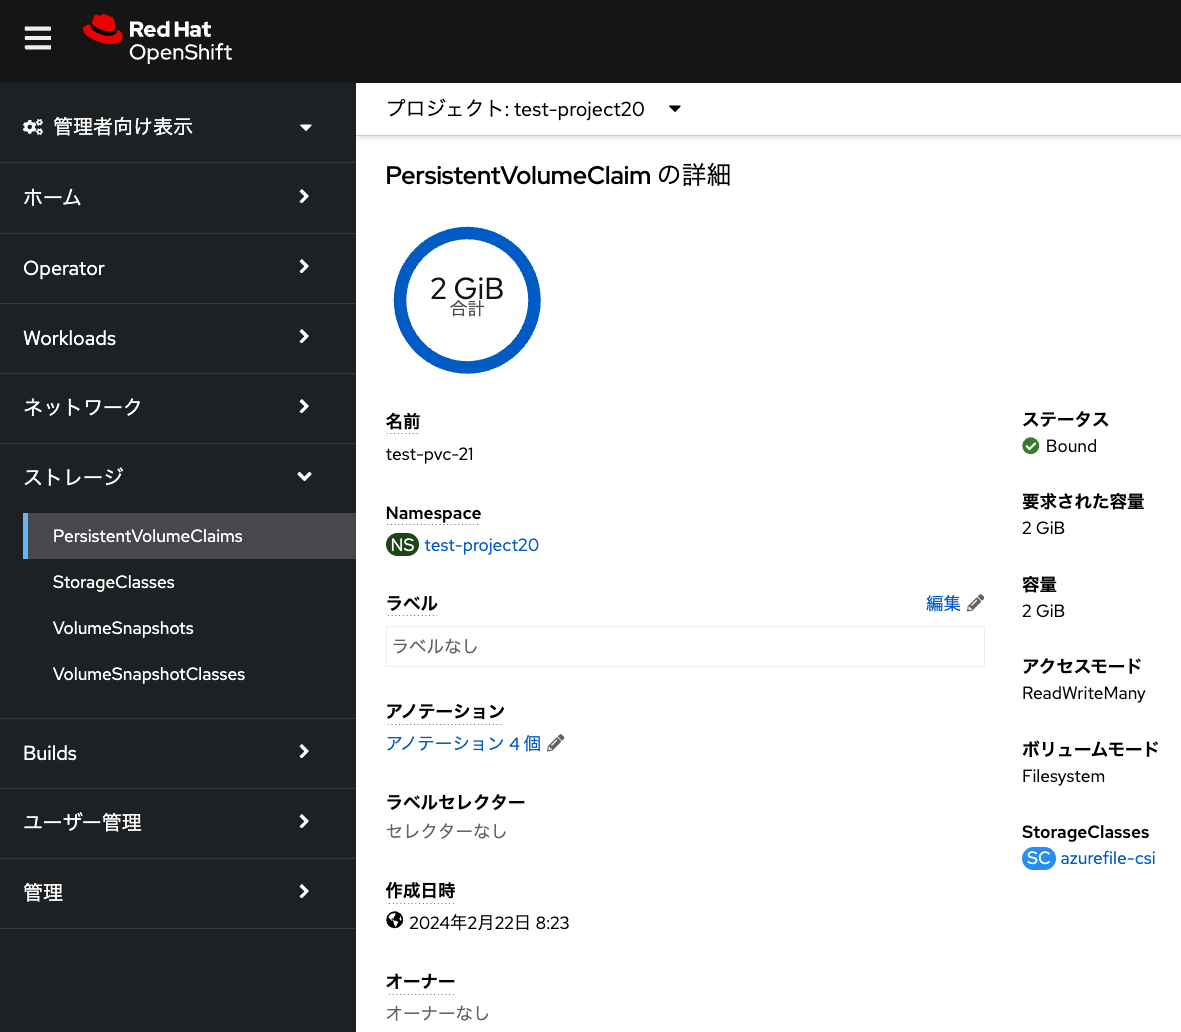
RWXは複数台のワーカーノードから利用可能なアクセスモードです。 RWXに対応したPVCを利用することで、 複数ノード上でレプリケーション構成を取るアプリケーション(Azure Filesに保存したデータを共有)を ARO上で実行できるようになります。
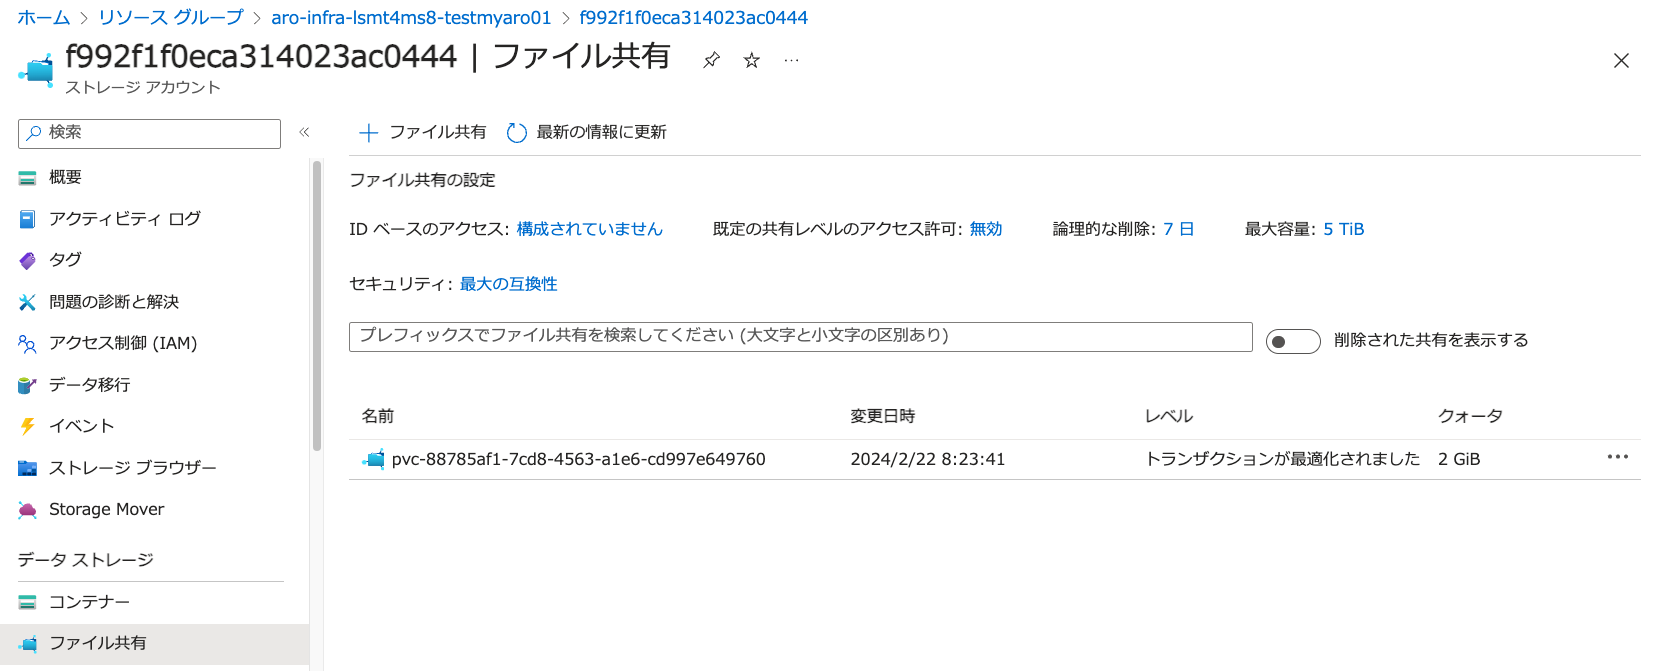
PVCによって作成されたAzure Filesは、Azure Portalからも確認できます。
Azureの aro-infra-XXXXX-<AROクラスター名> リソースグループに、
Azure Filesを利用するためのAzureストレージアカウントが自動作成され、
その中の「ファイル共有」から pvc- という接頭辞が付いたAzure Filesが作成されていることを確認できます。
Azure Files用のPVCを利用するPodの作成
Azure Diskの時と同様に、次のYAMLファイルを入力して、 作成した「test-pvc-21」PVCを利用したPodを実行します。
apiVersion: v1
kind: Pod
metadata:
 name: test-files
spec:
 volumes:
   - name: files-storage-vol
     persistentVolumeClaim:
       claimName: test-pvc-21
 containers:
   - name: test-files
     image: centos:latest
     command: [ "/bin/bash", "-c", "--" ]
     args: [ "while true; do touch /mnt/files-data/verify-files && echo 'hello files' && sleep 30; done;" ]
     volumeMounts:
       - mountPath: "/mnt/files-data"
         name: files-storage-vol
作成したPodのターミナルからAzure Filesのマウント状況を確認すると、 CIFSプロトコルでマウントされていることを確認できます。
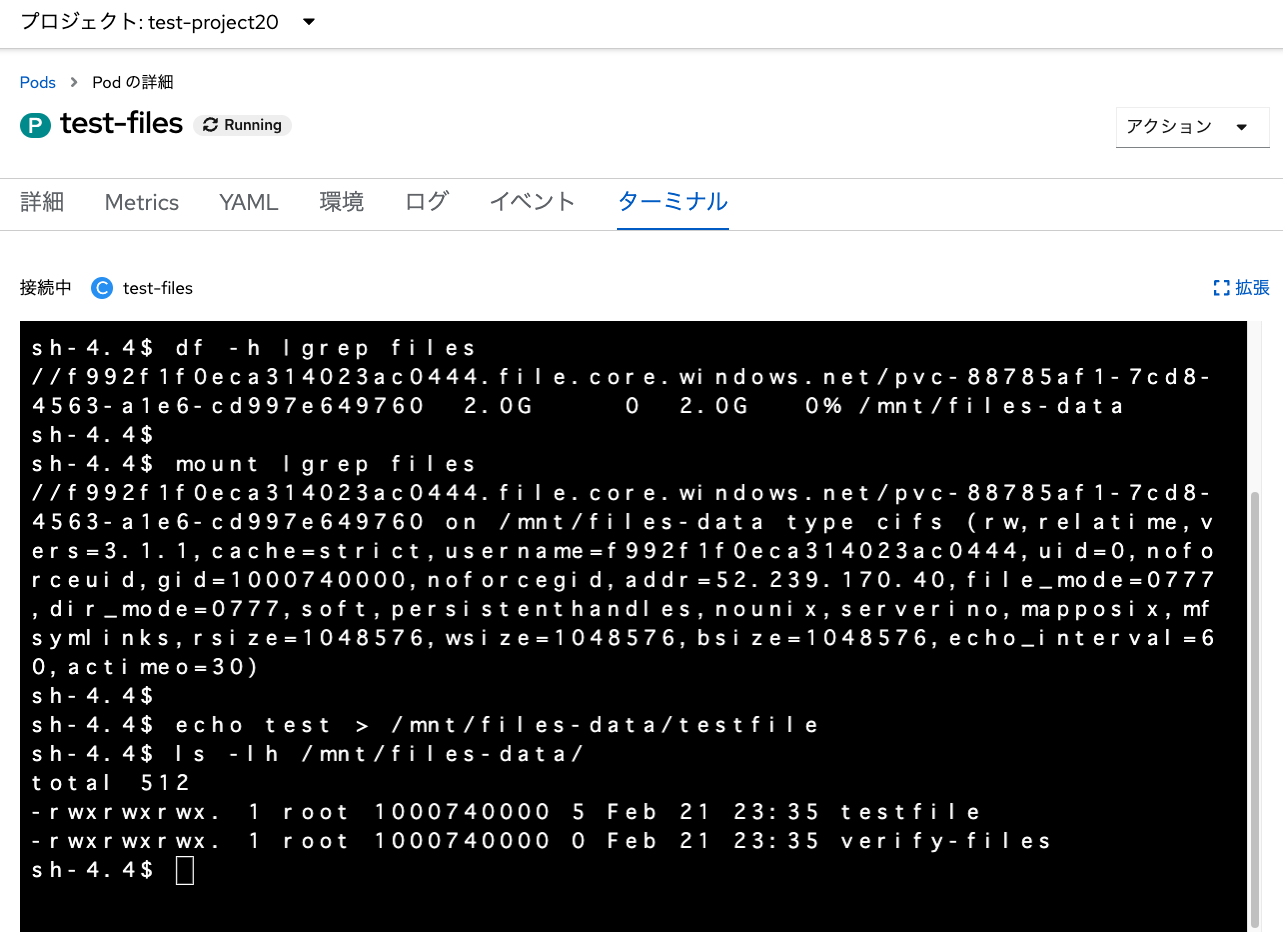
ここで作成したPodとは別のPodを新しく作成して、複数のPodから同じPVCを利用することで、 1つのファイルシステムを共有できることを確認します。 前述のPod作成に利用したYAMLファイルで、「name: test-files」を「name: test-files-new」などに 変更することで、変更したPod名で新規Podを実行してみます。
「test-files-new」Podでもマウント先のディレクトリへのファイル作成/削除や、 「test-files」Podで作成したファイルの修正ができることを、 当該Podの「ターミナル」タブから確認してみてください。