Workbench の作成と Jupyter Notebook での実行
先ほど Playground で作ったコードを Workbenchで動かしてみましょう。
Workbenchの作成
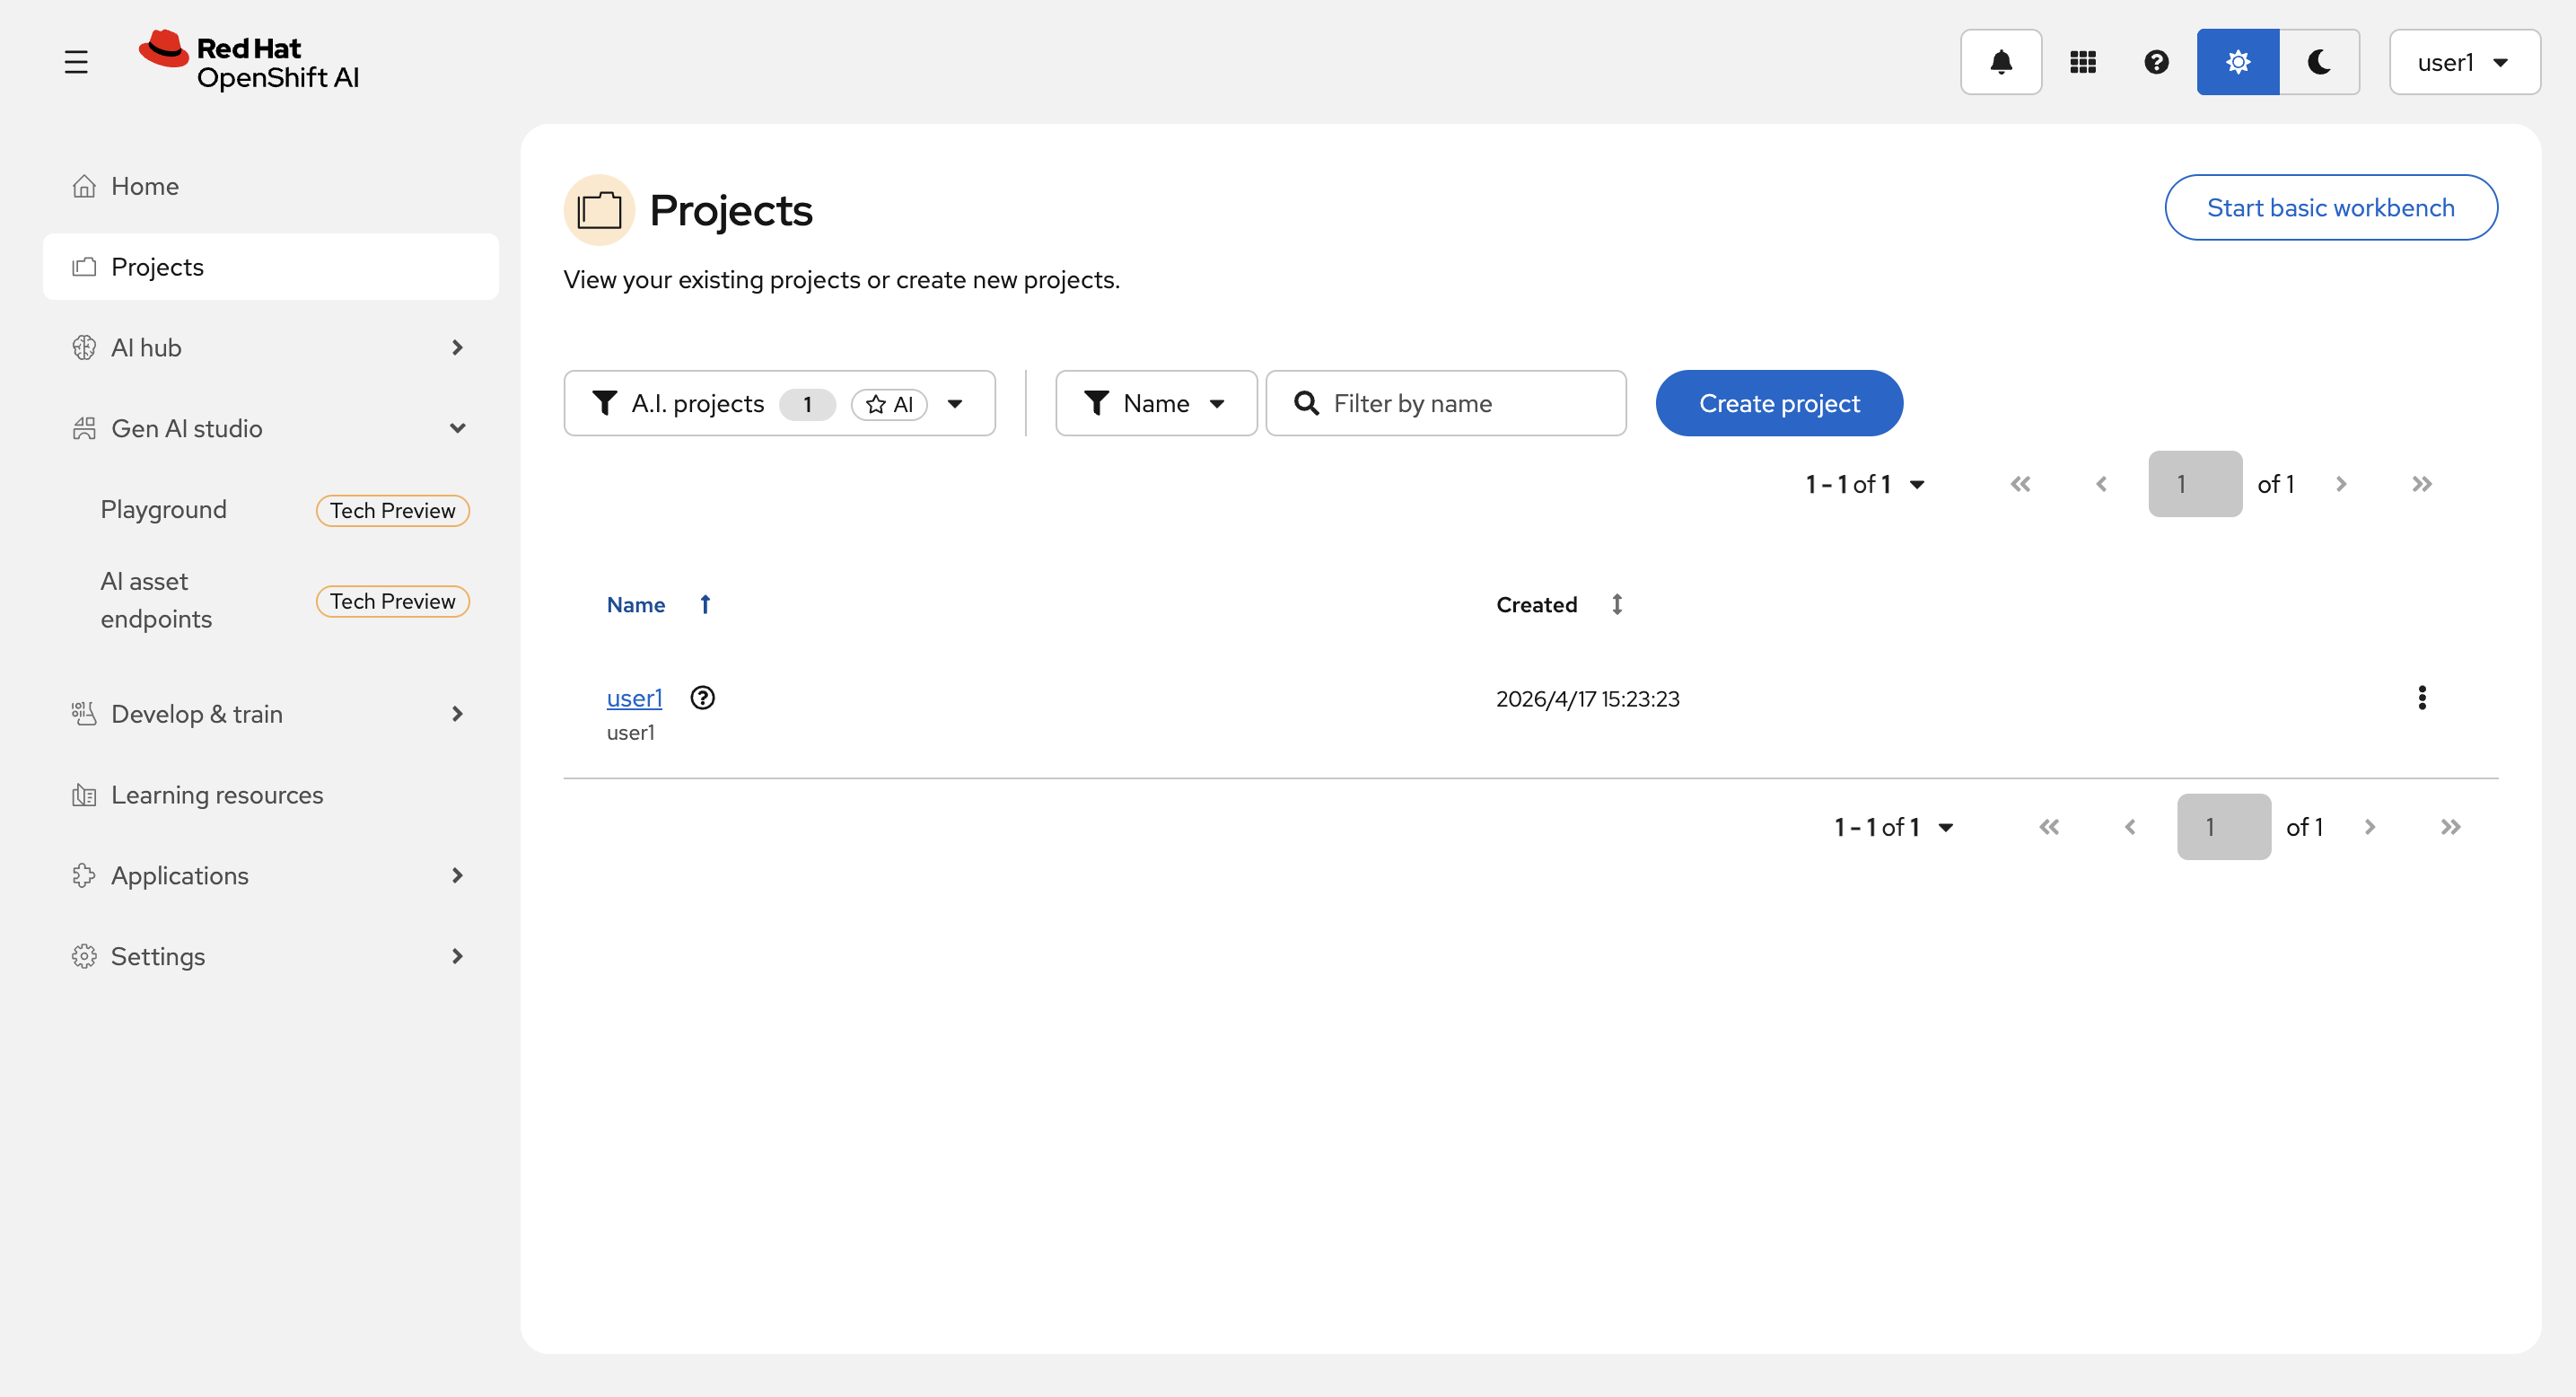
左のメニューの Projects を選択して、ハンズオンの最初で作成した自分のプロジェクト user<xx> を選択します。
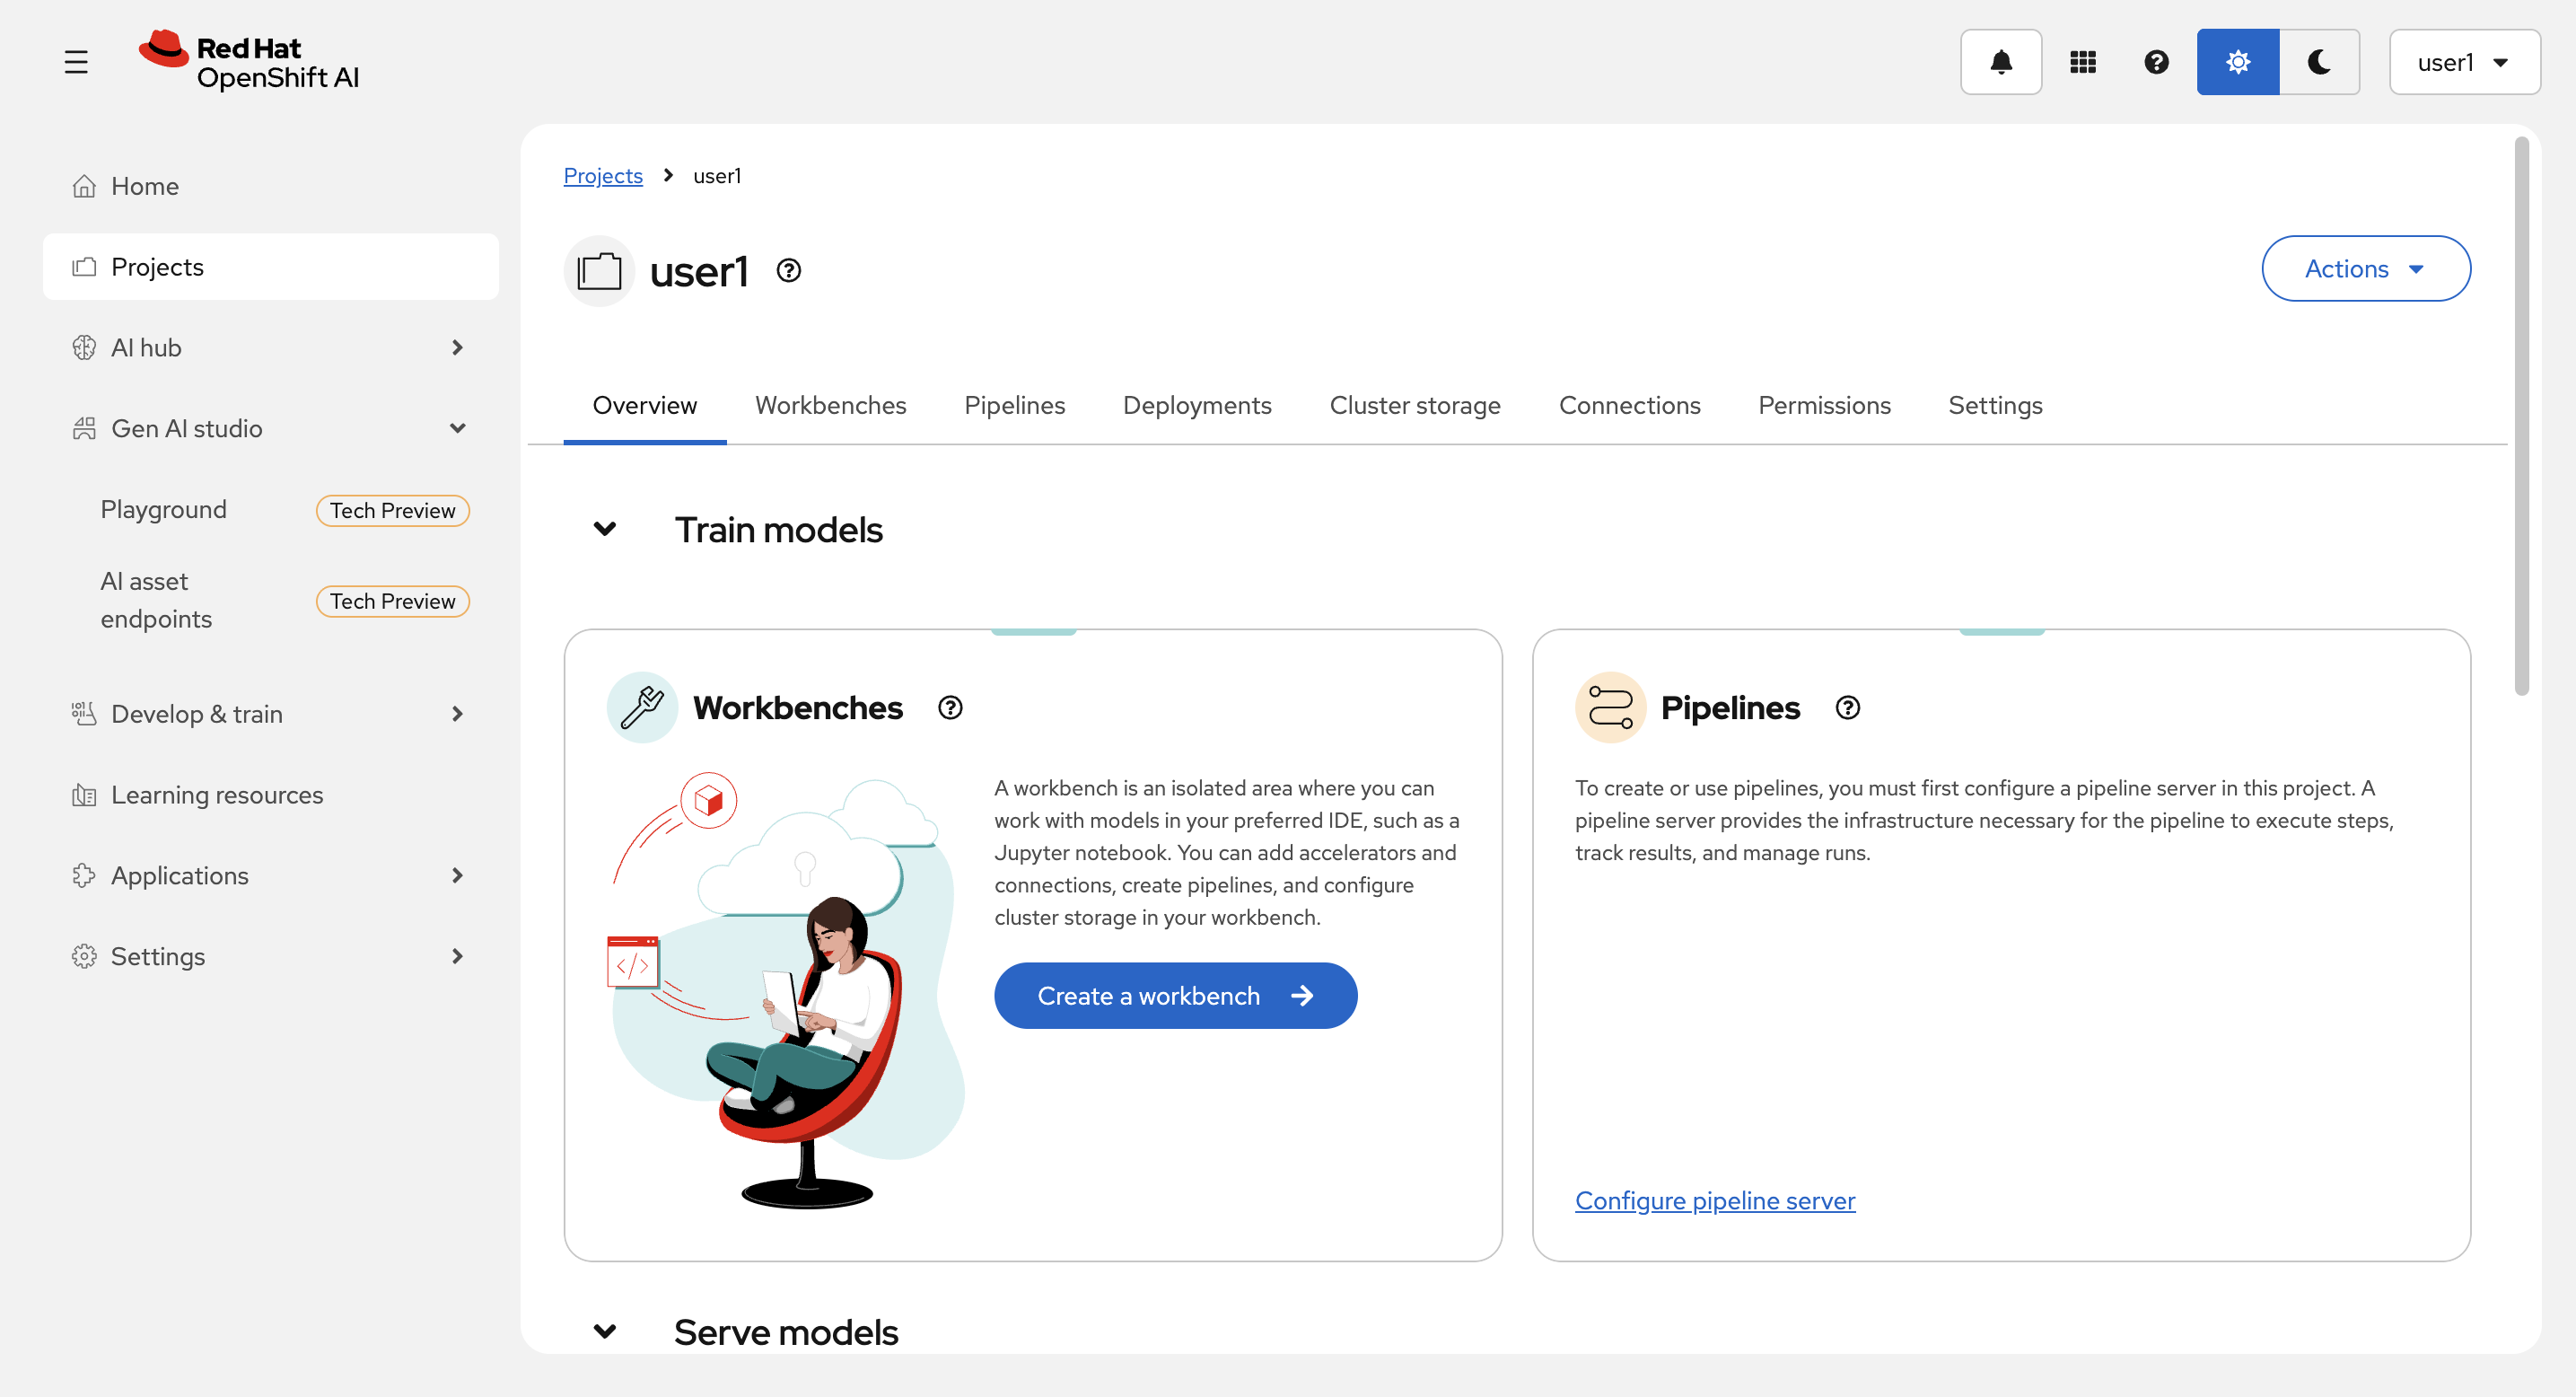
Create a workbench を選択します。
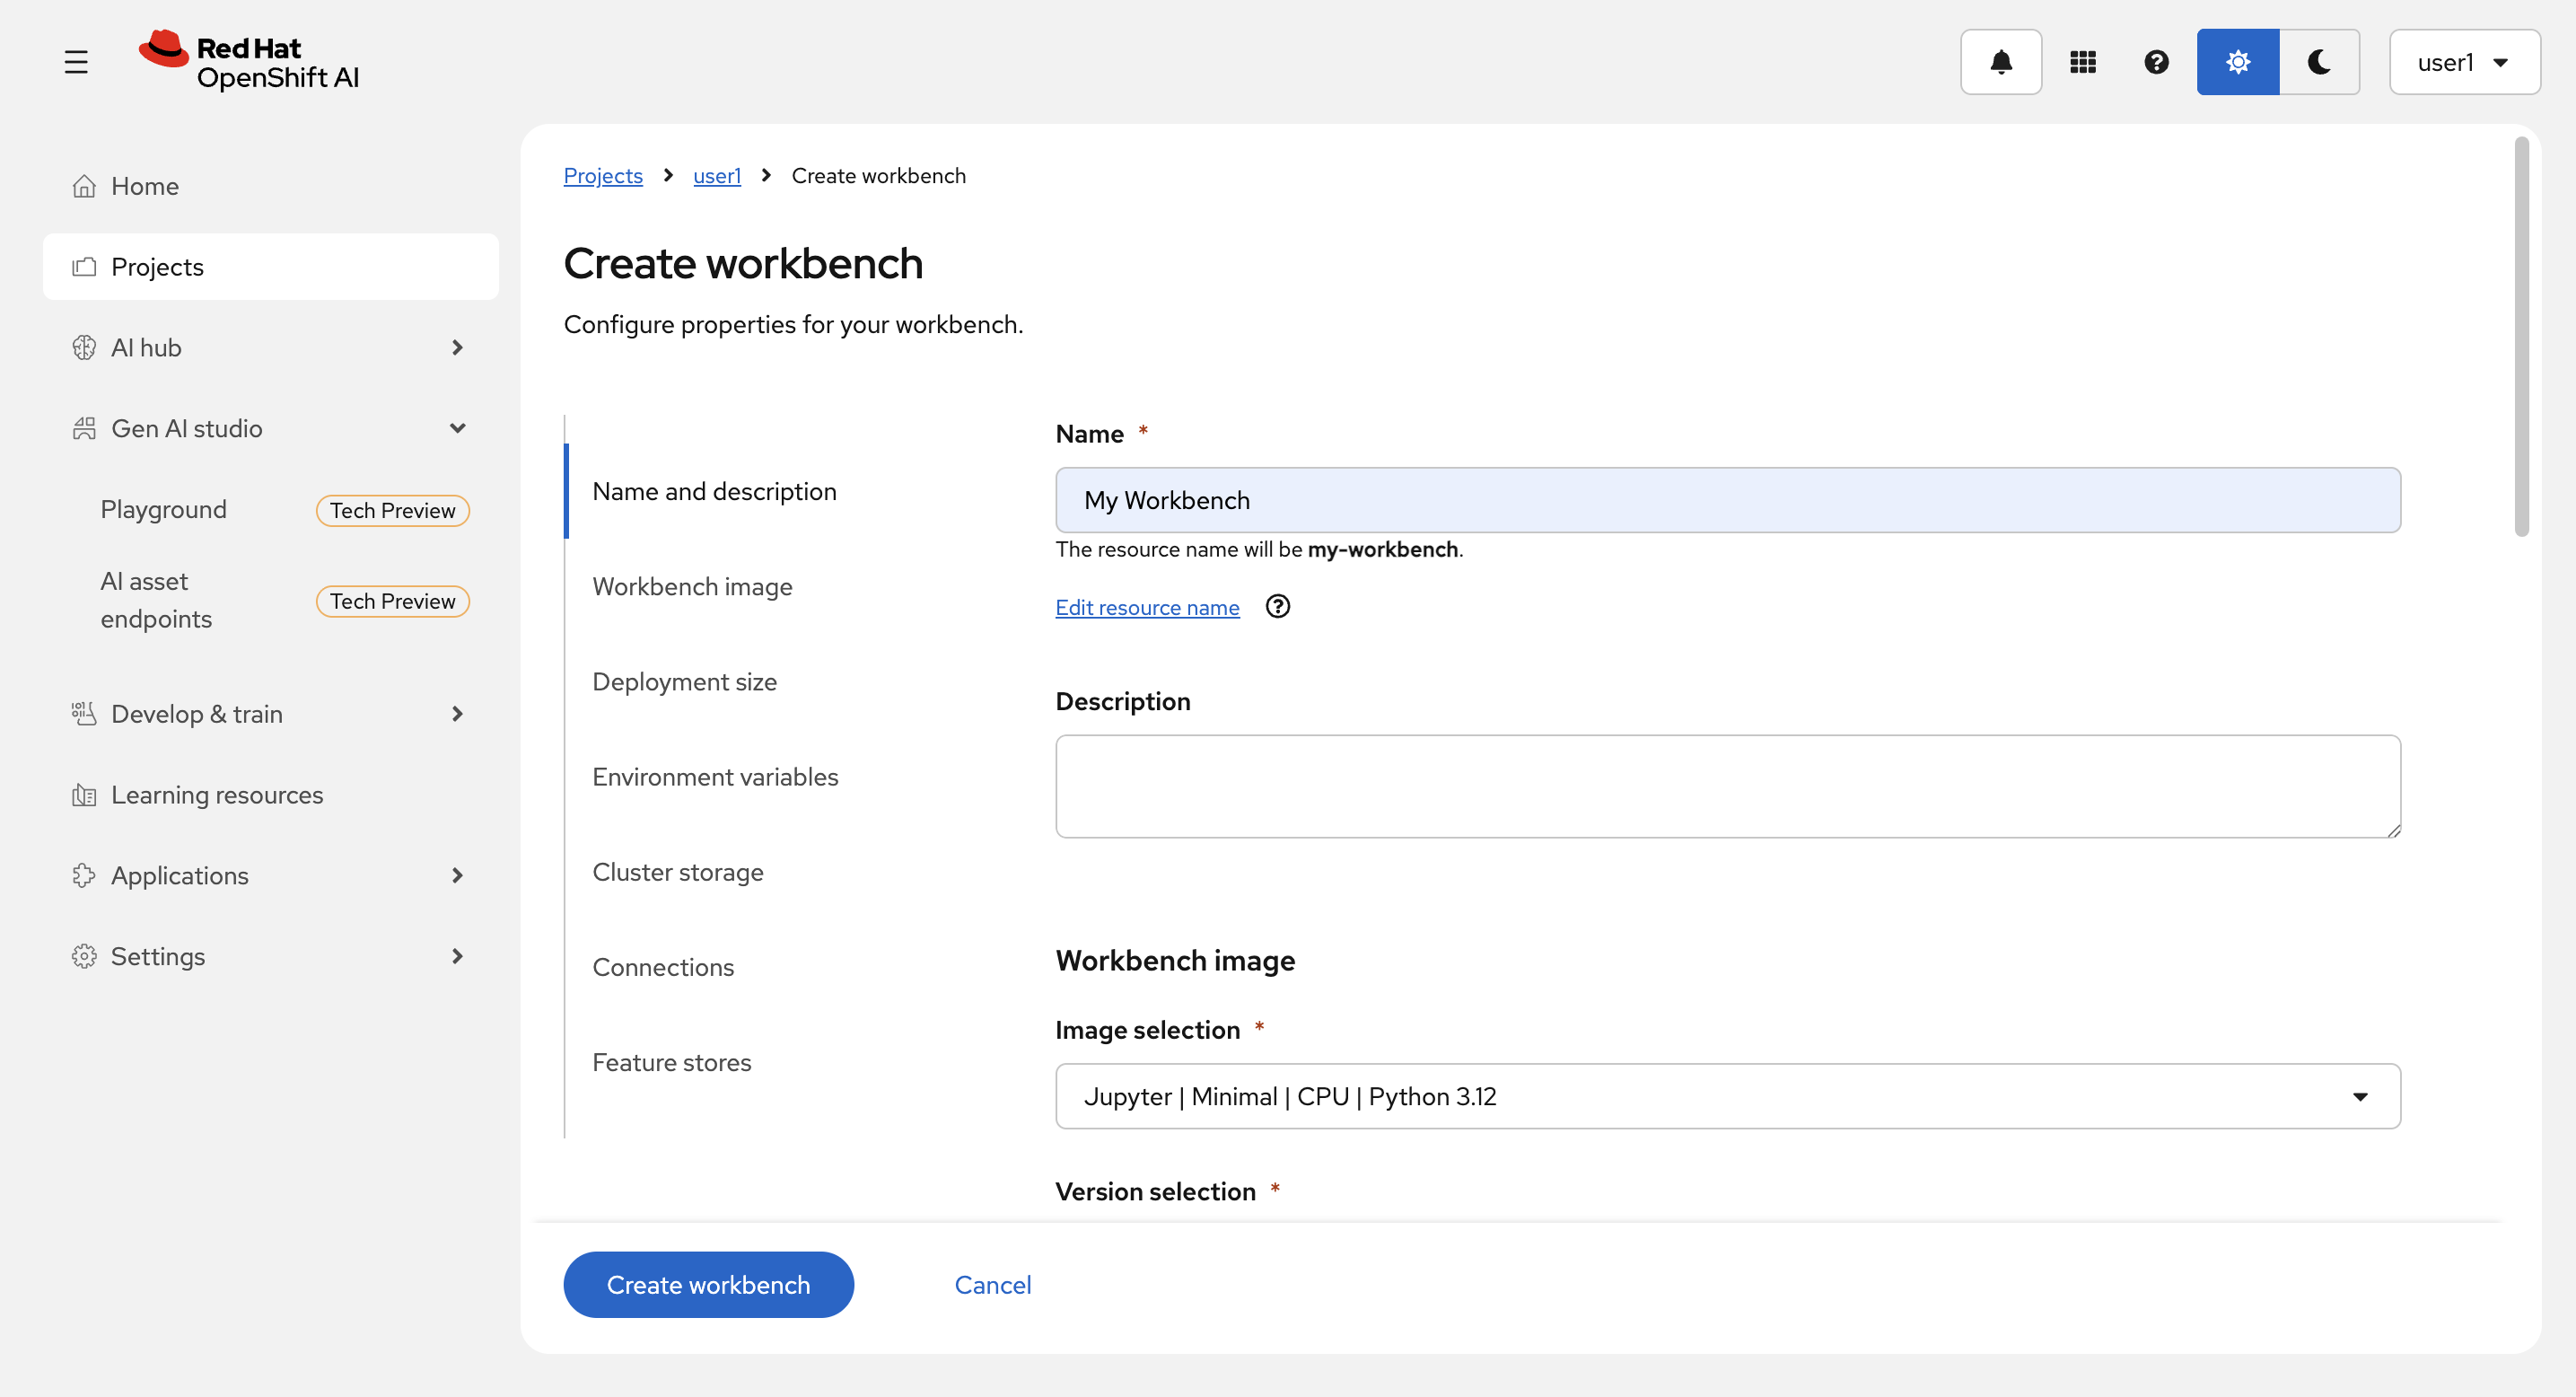
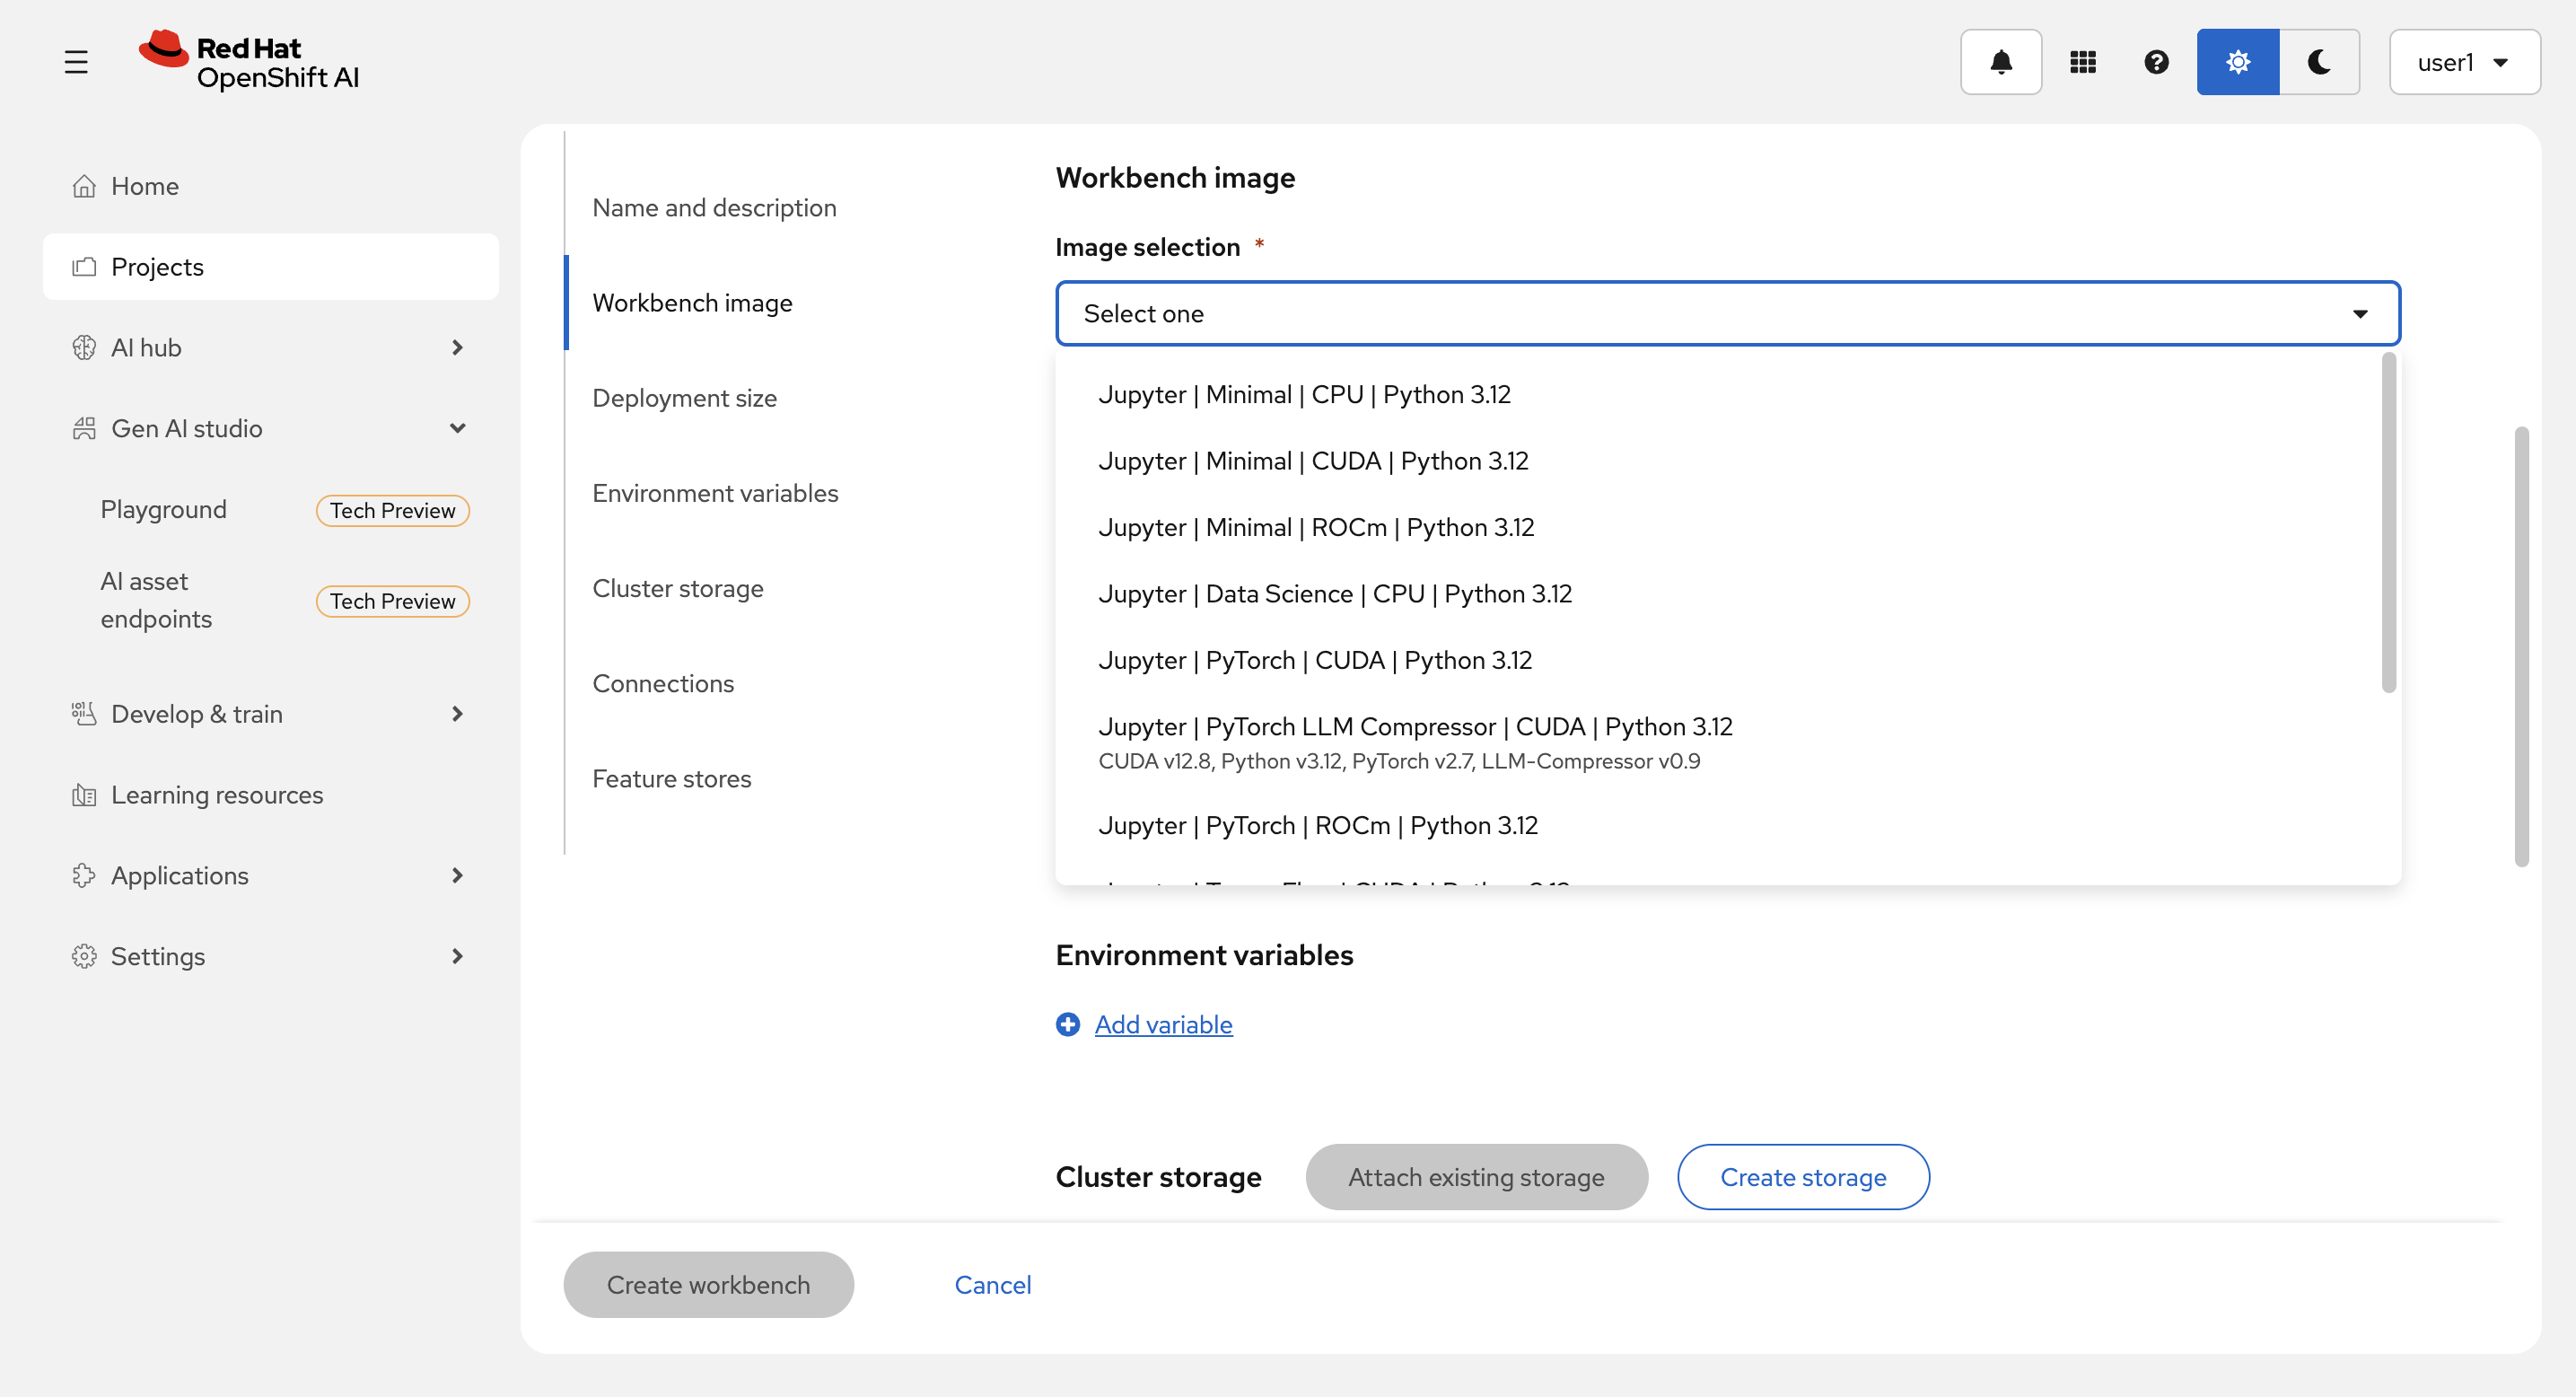
Name に適当な名前を入力(例:My Workbench)し、Workbench image の Image selection で Jupyter|Minimal|CPU|Python 3.12 を選択します。
(補足)Image selection に標準で準備されているイメージが表示されるので確認してください。GPUを使えるもの、Comressor や TrustyAI を含むイメージもあります。
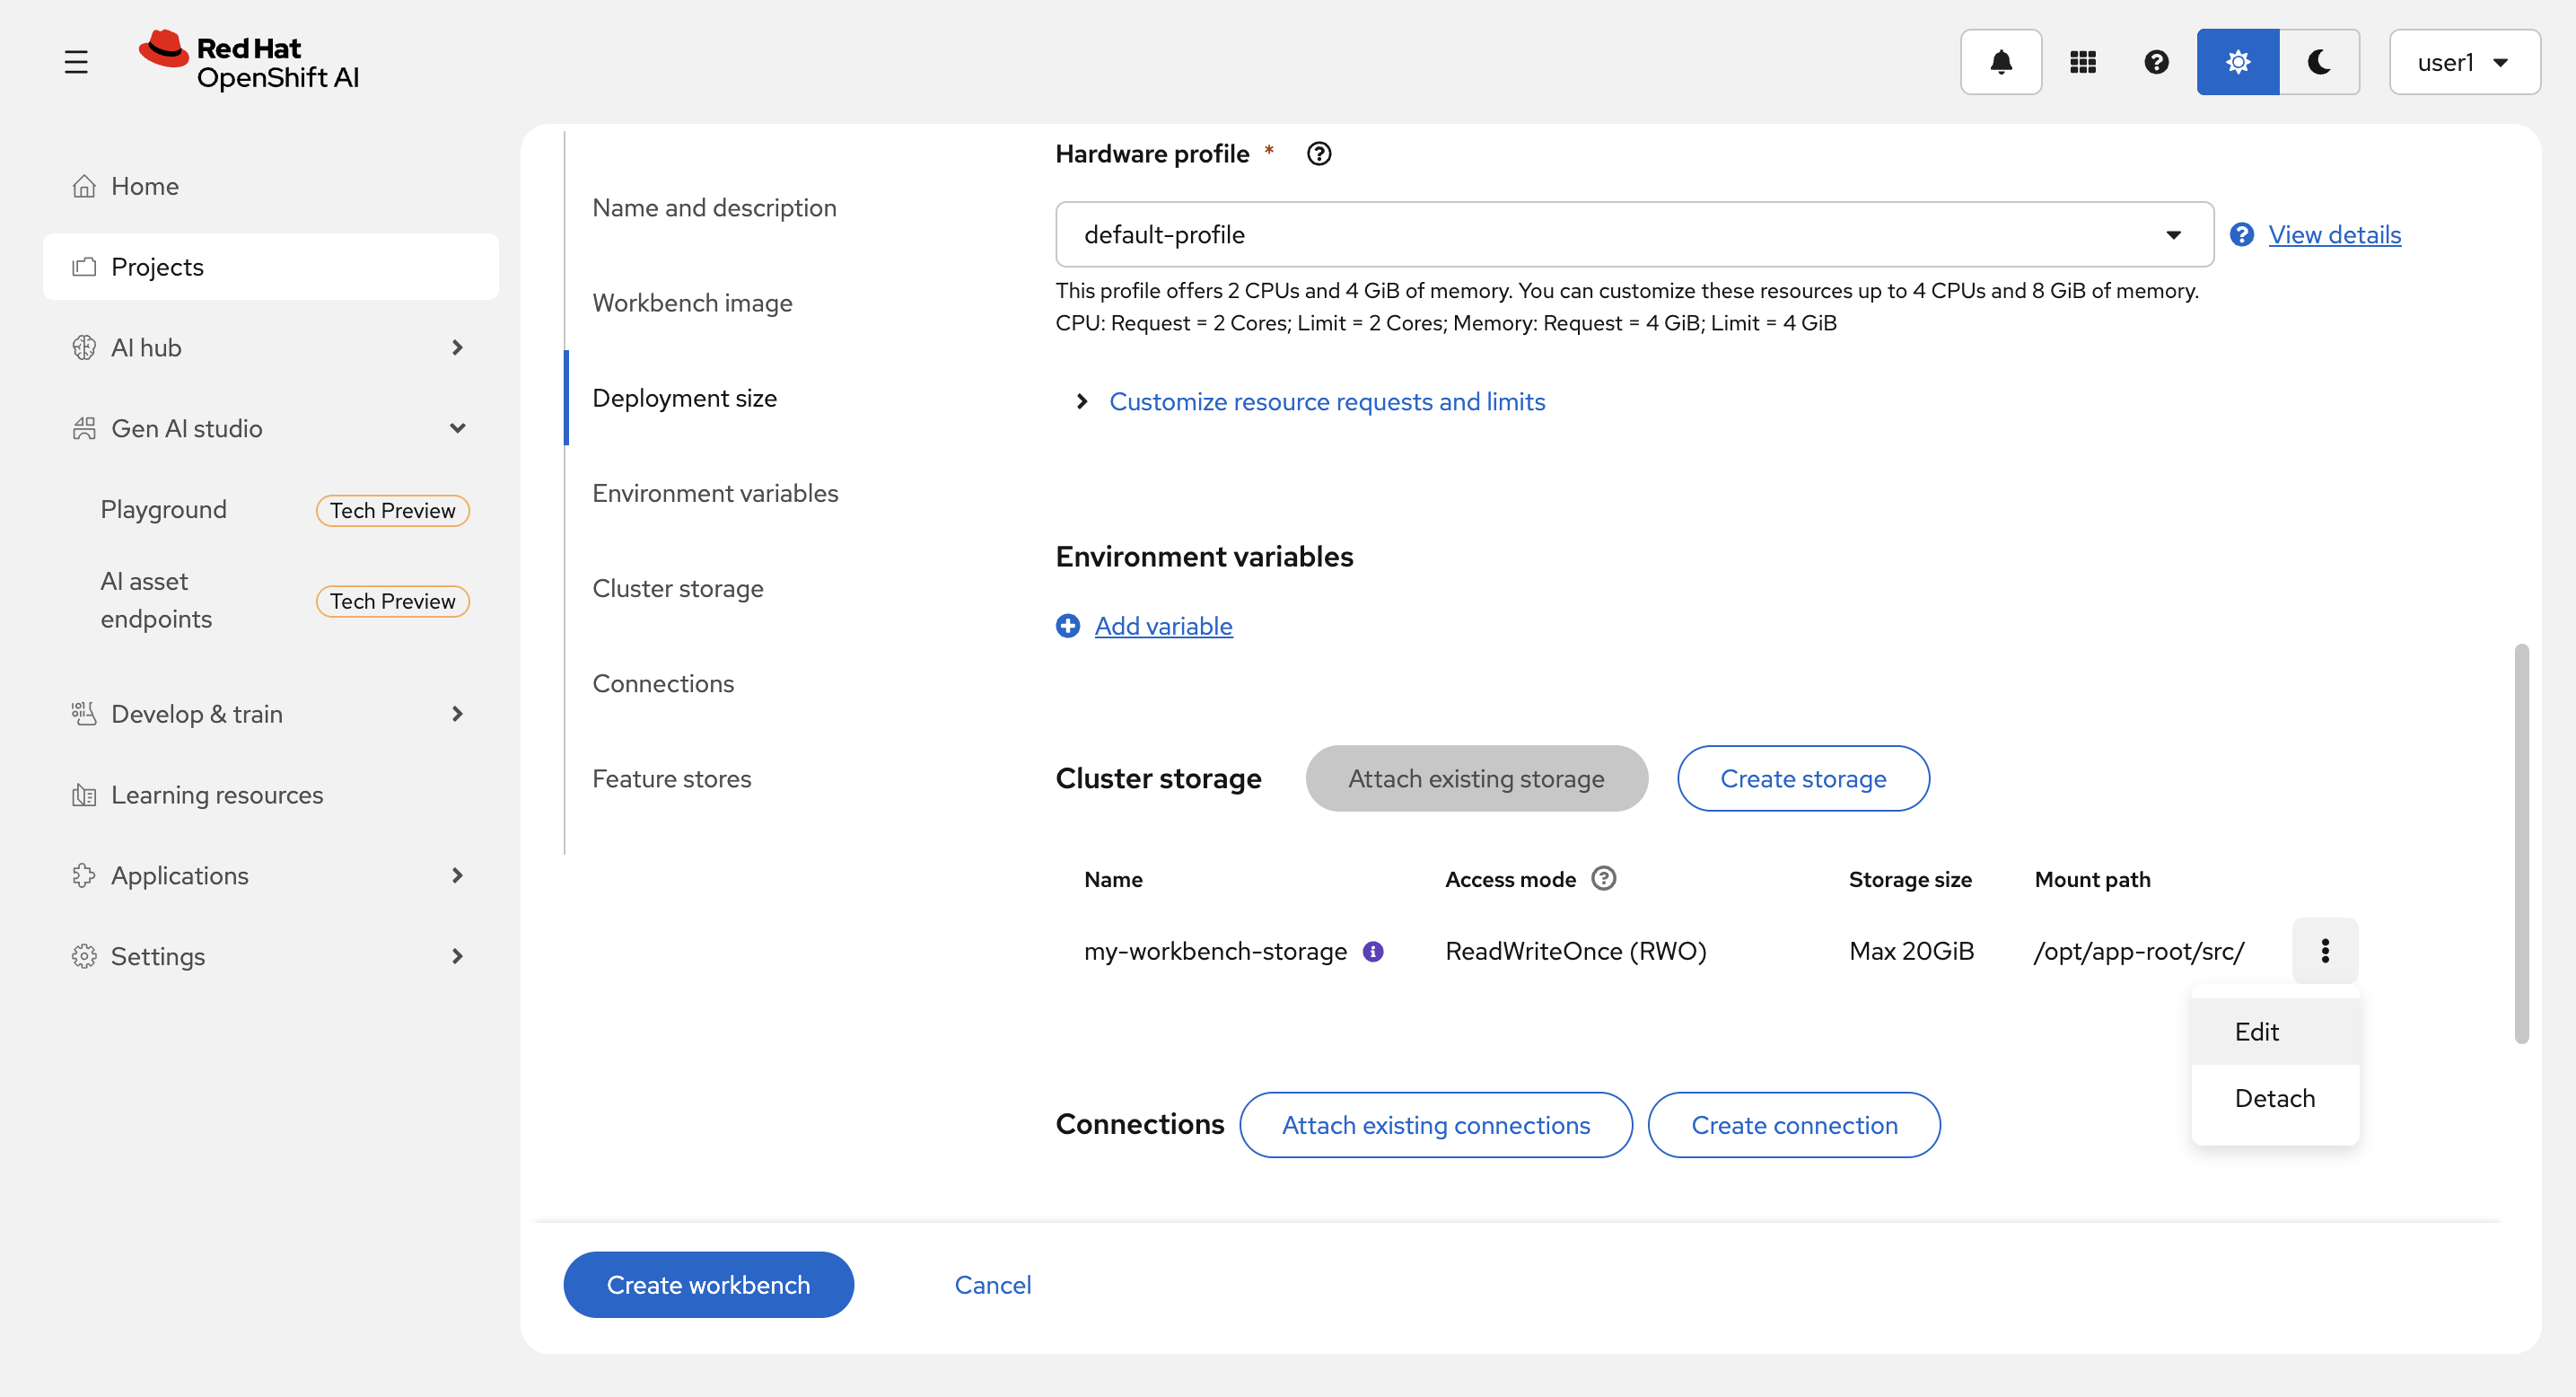
残りの項目はデフォルトのままで Create workbench を選択します。

(補足)
-
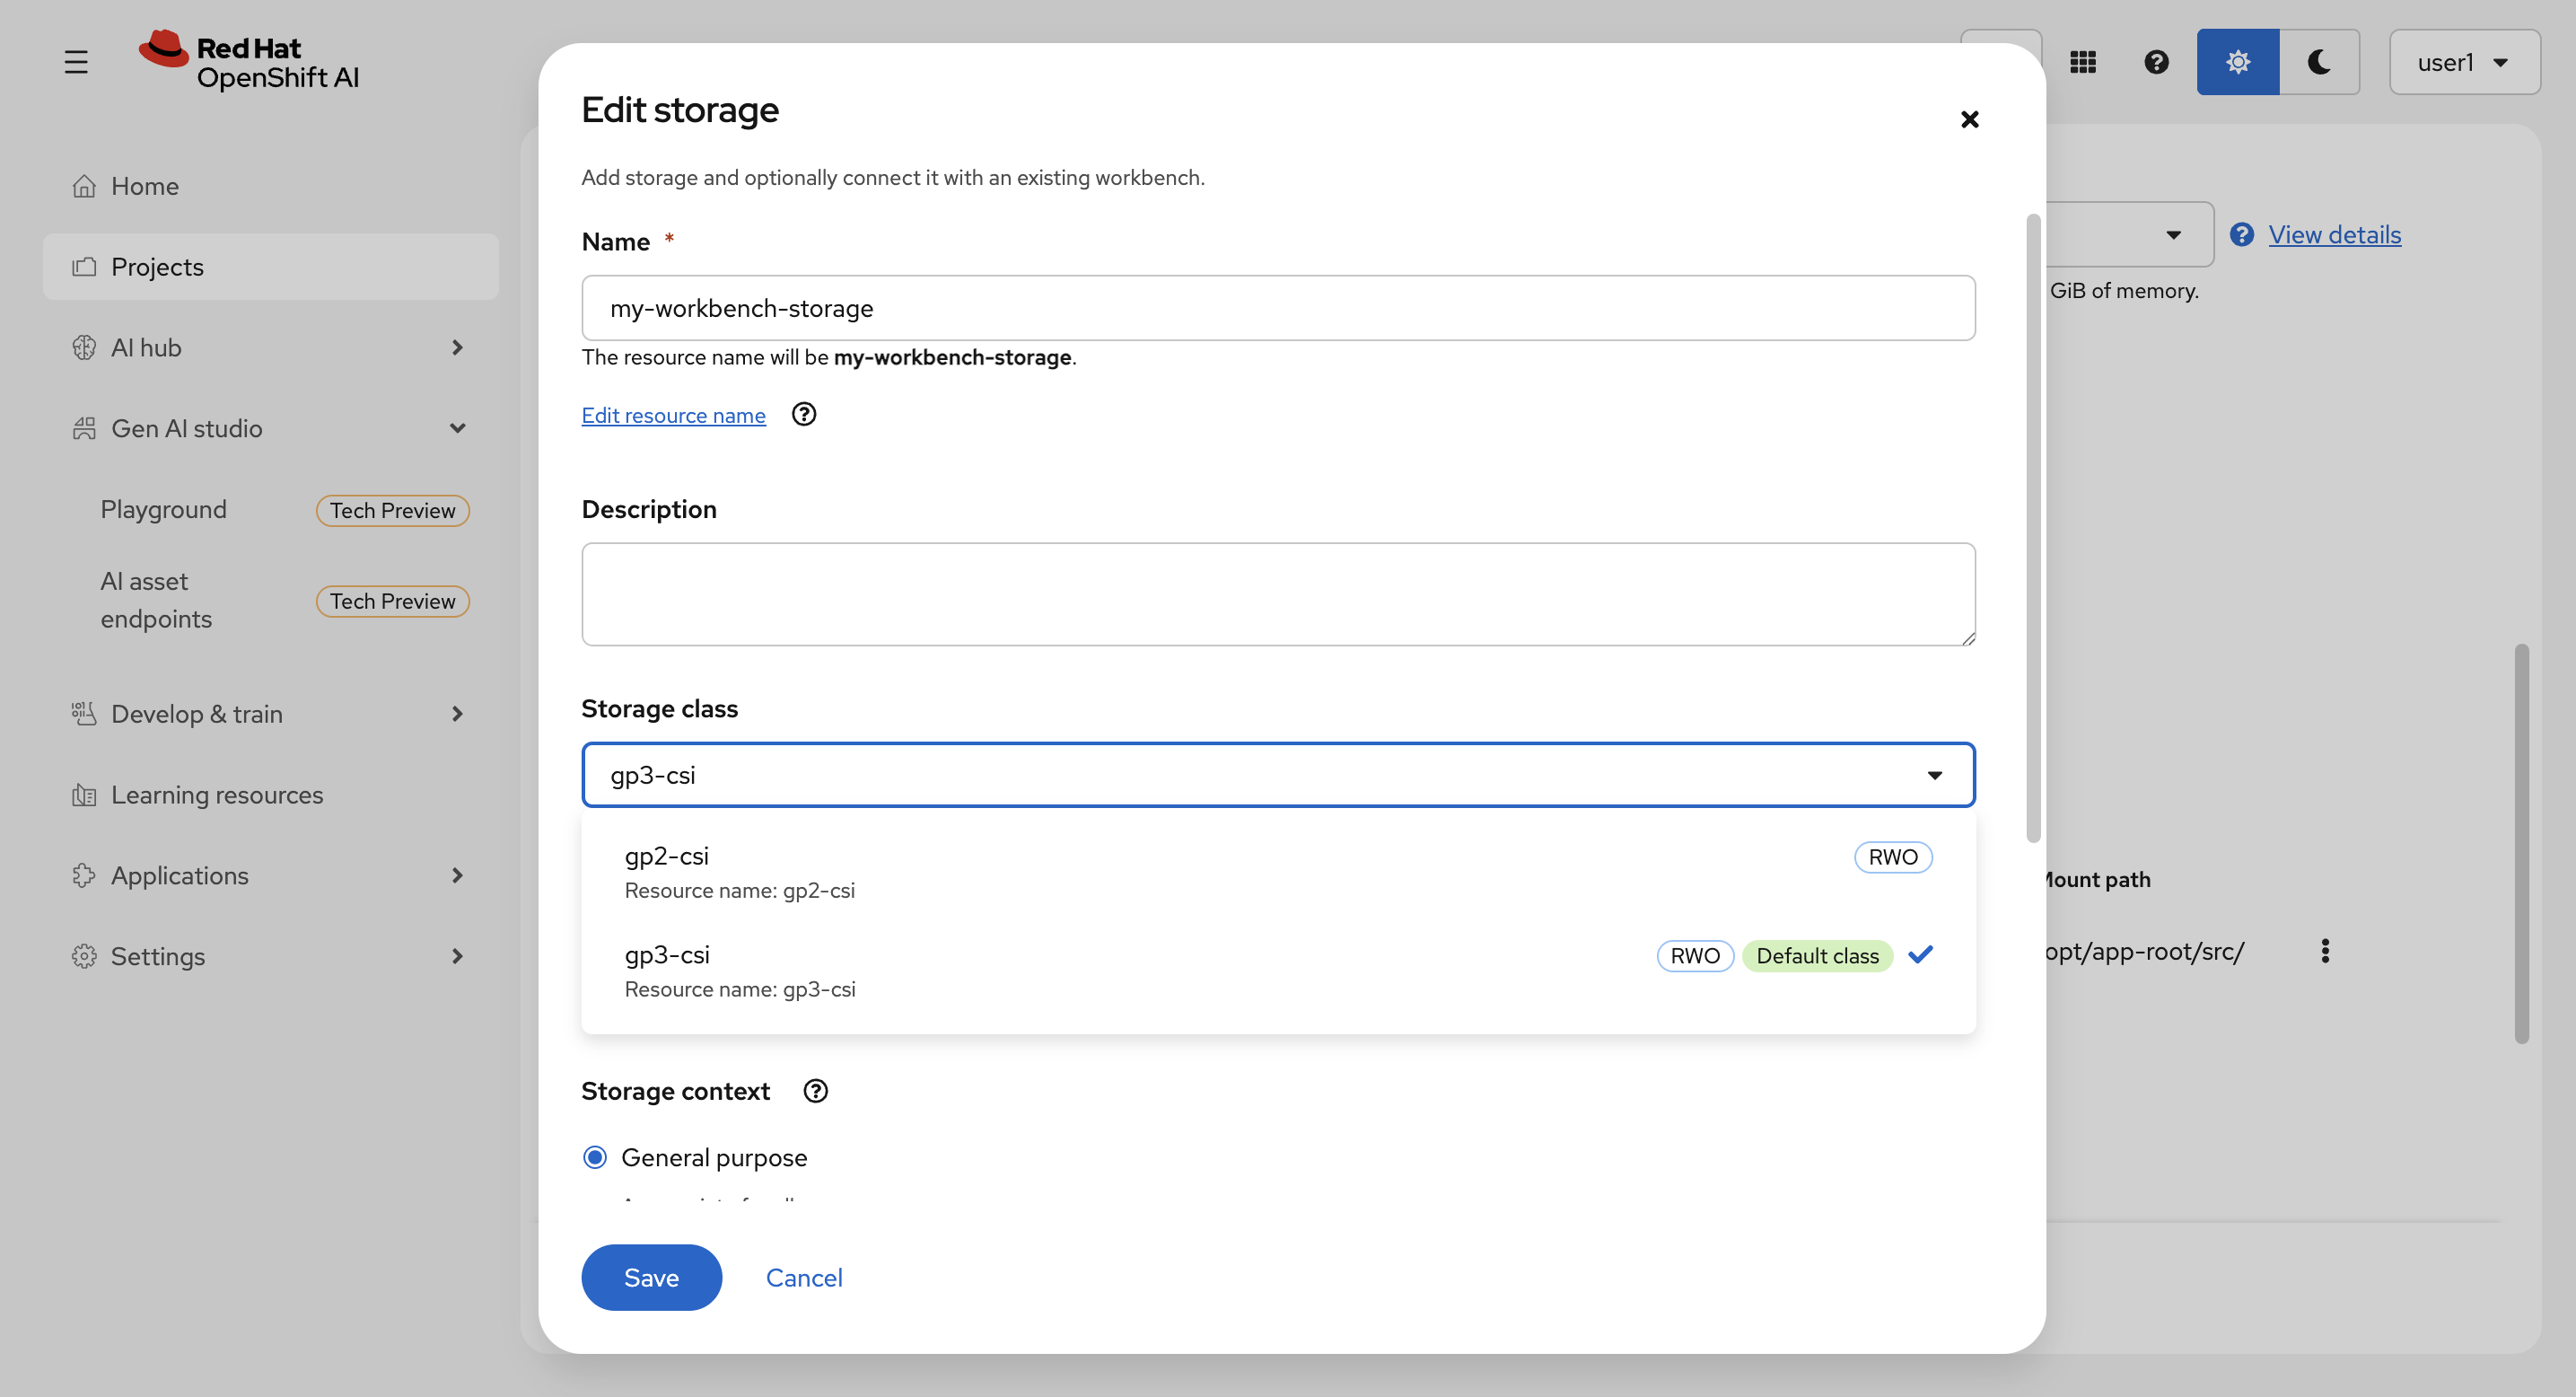
Storage Class から Cluster storage が作成されます。右端のドットのメニューから
Editを選んで設定を確認してください。事前に Cluster storage タブから作成することも可能です。
Cancel を選択して元の画面に戻ります。
-
モデルを S3 互換ストレージに保存したりする場合は、Connections の設定をしてください。
Jupyter Notebook でコードを実行
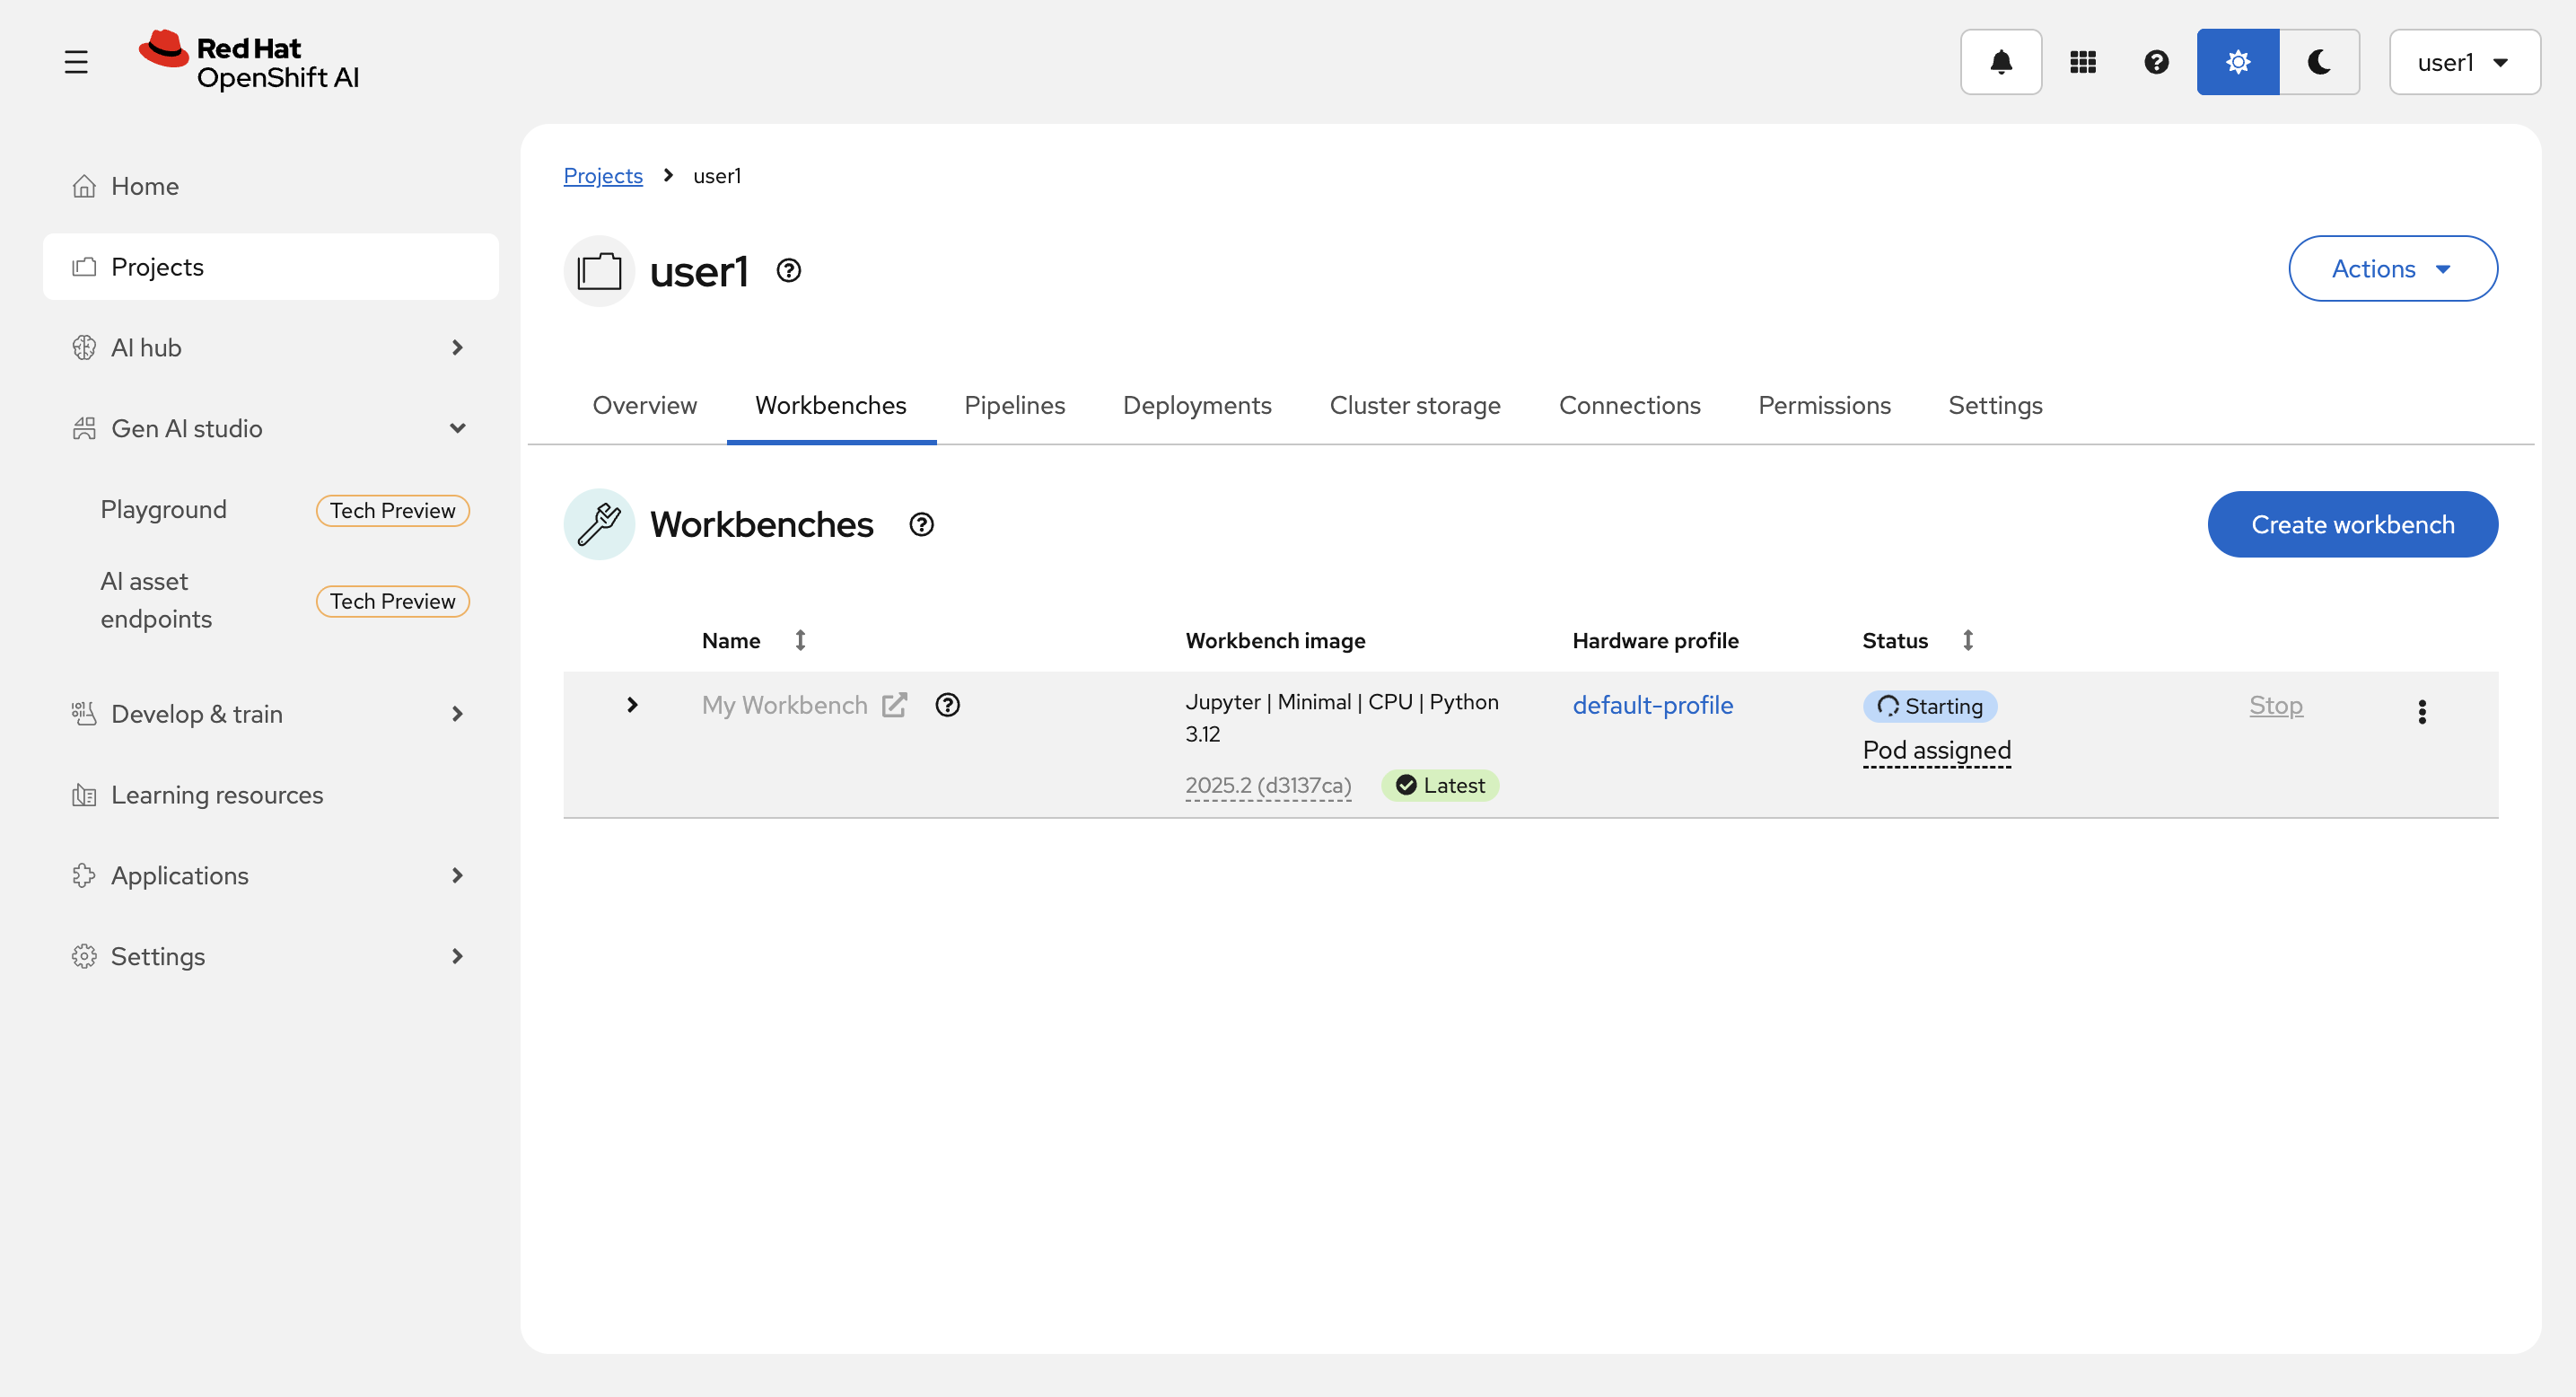
Workbenchの作成には1〜2分かかることがあります。
作成・起動中:
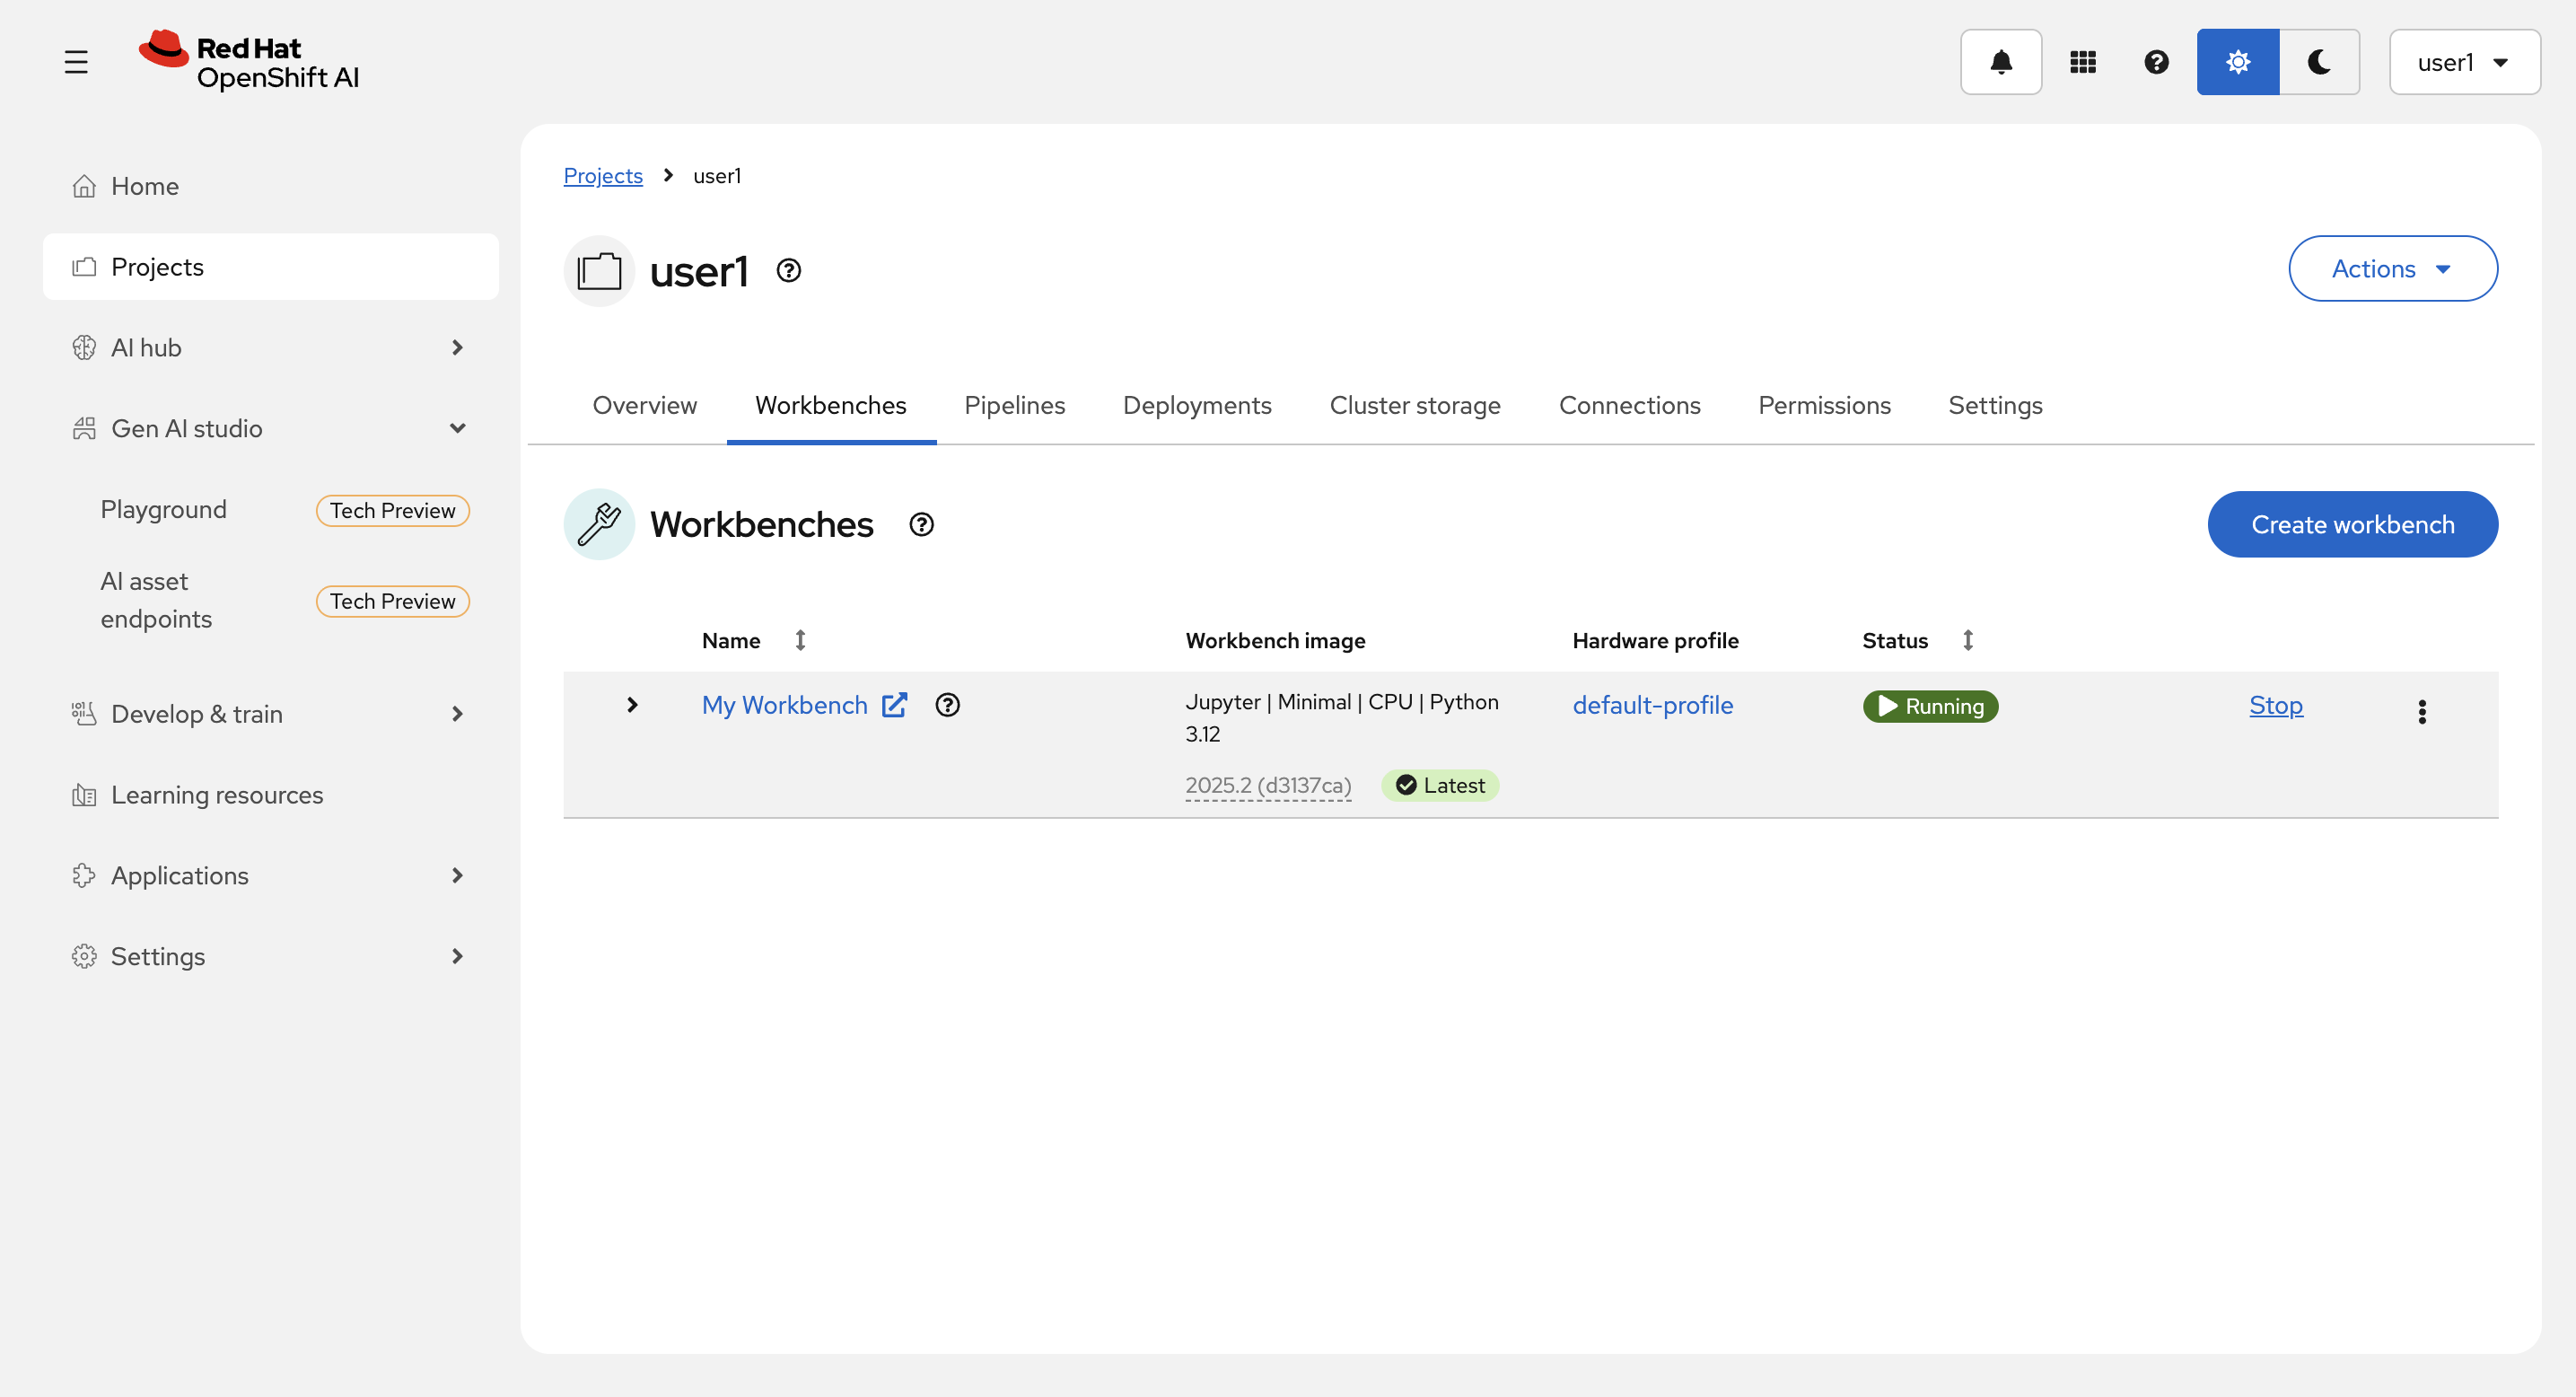
Starus が Running になったら、ワークベンチ名の横の矢印から、Workbenchに接続します。
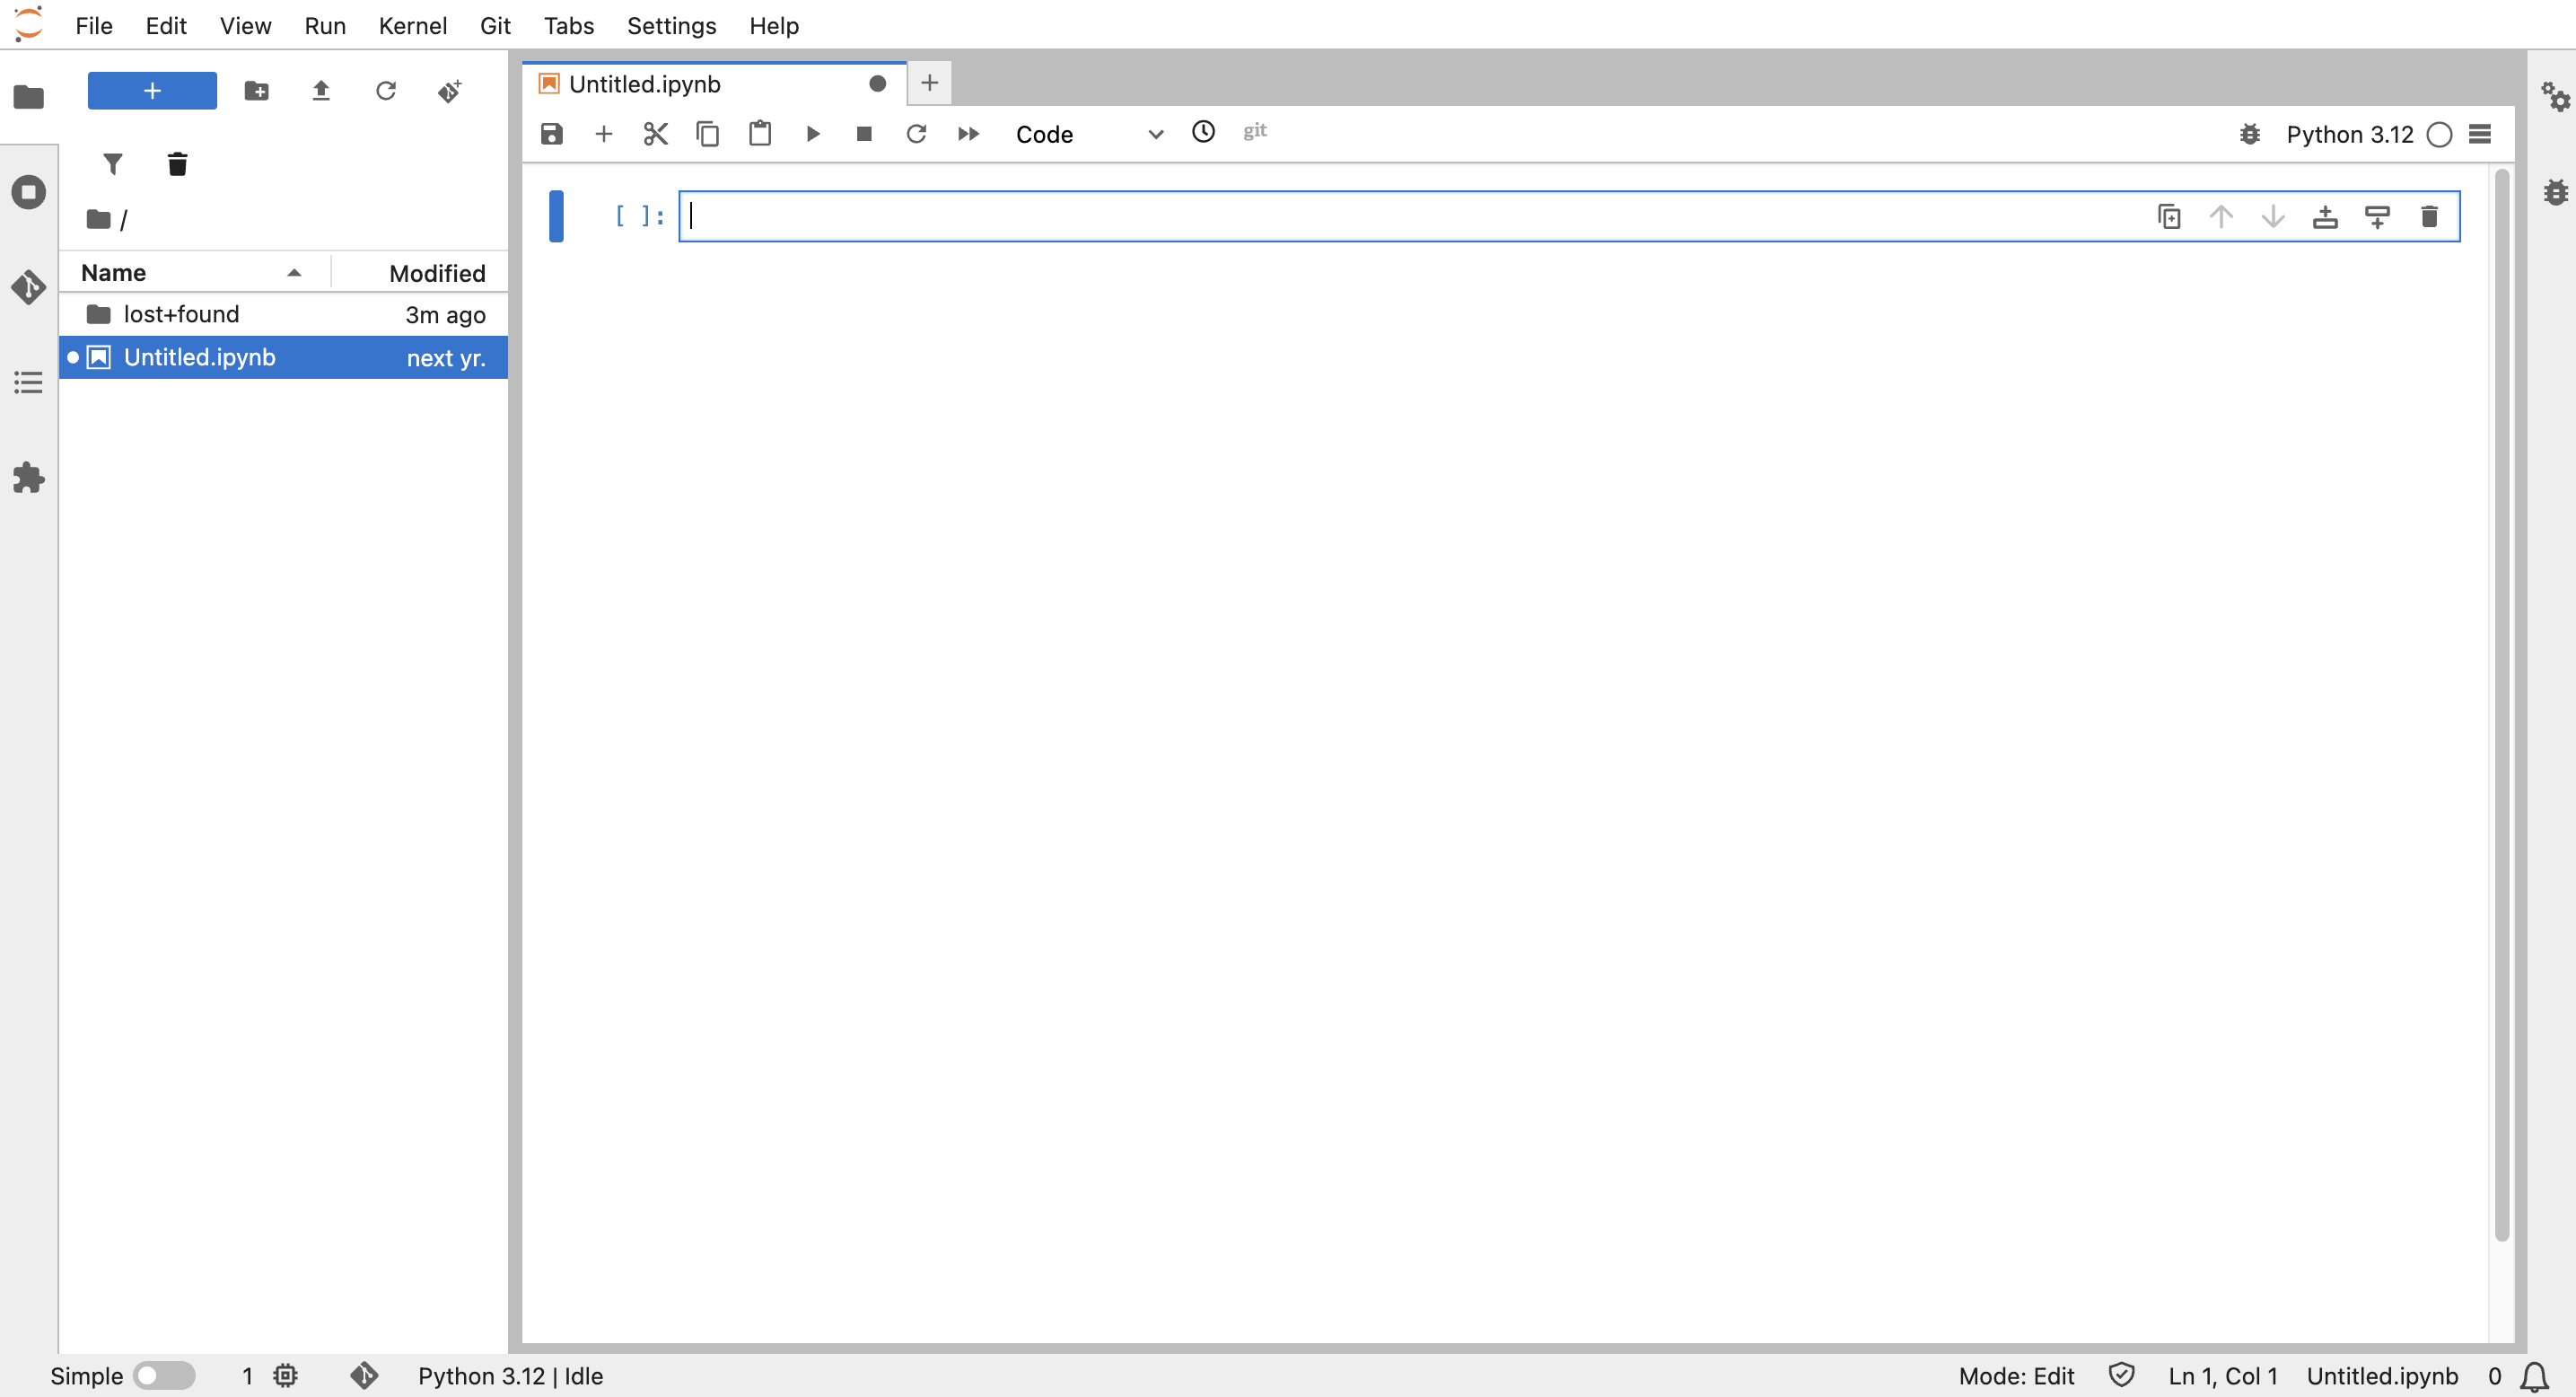
新規 Notebook を作成します。
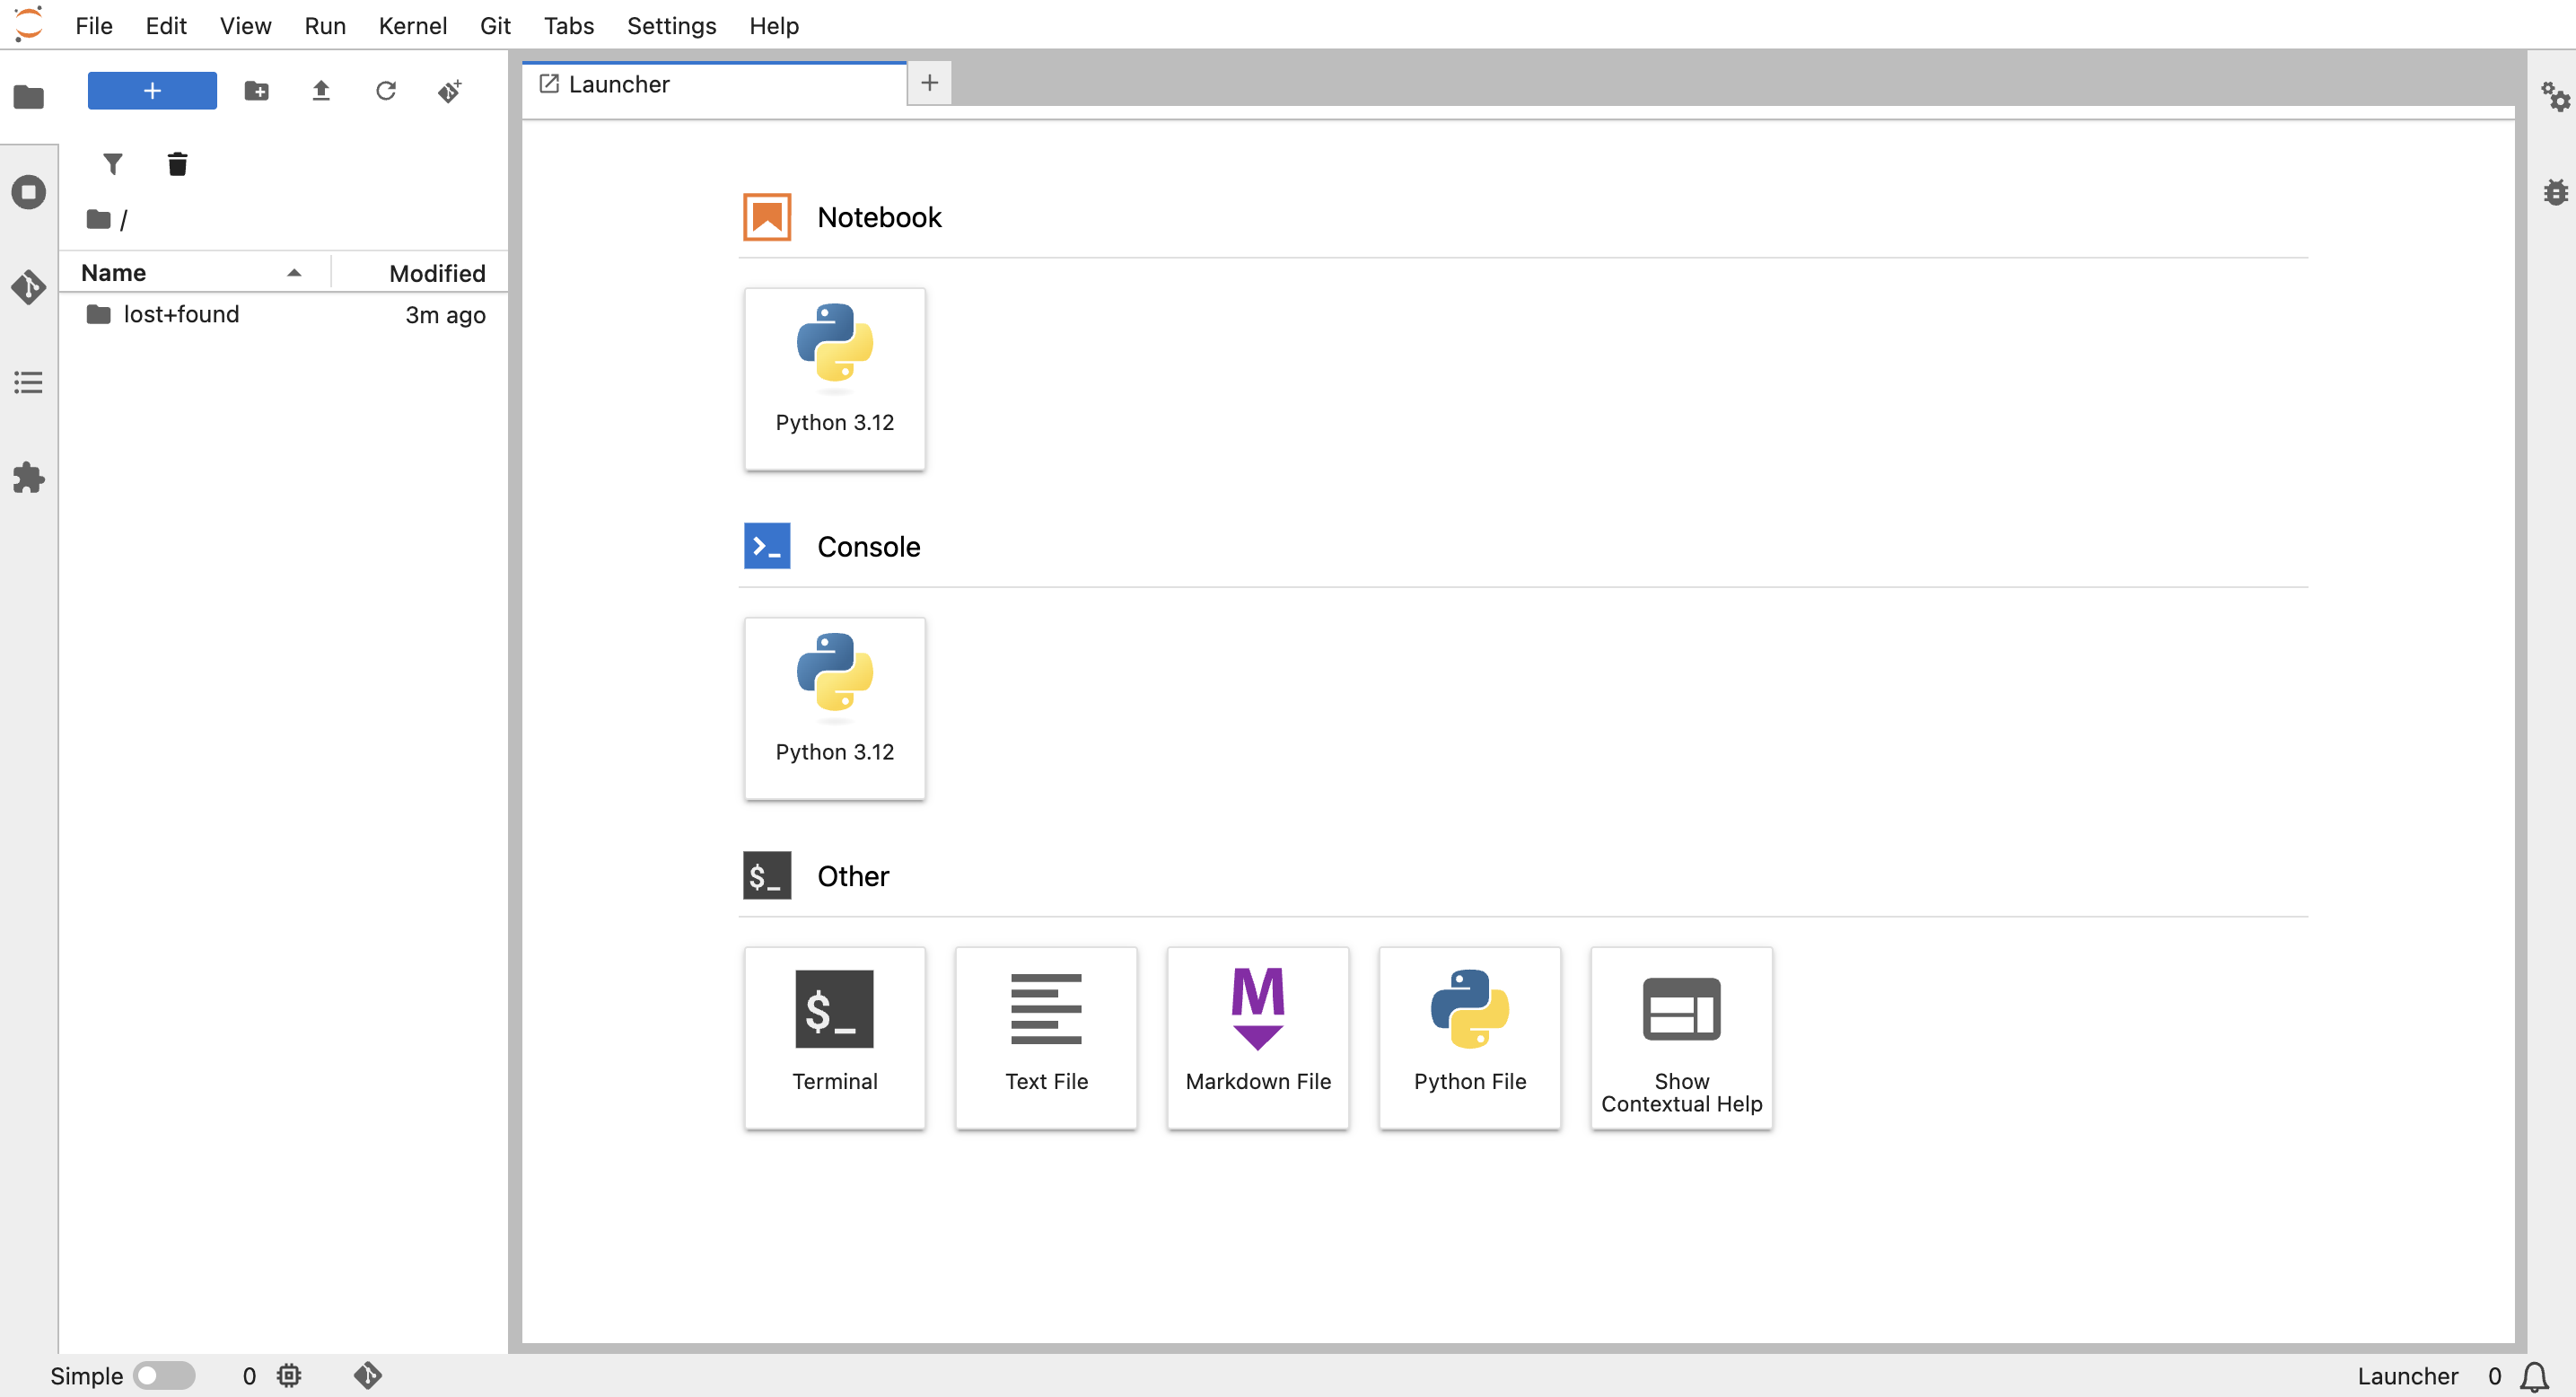
新規 Notebook:
-
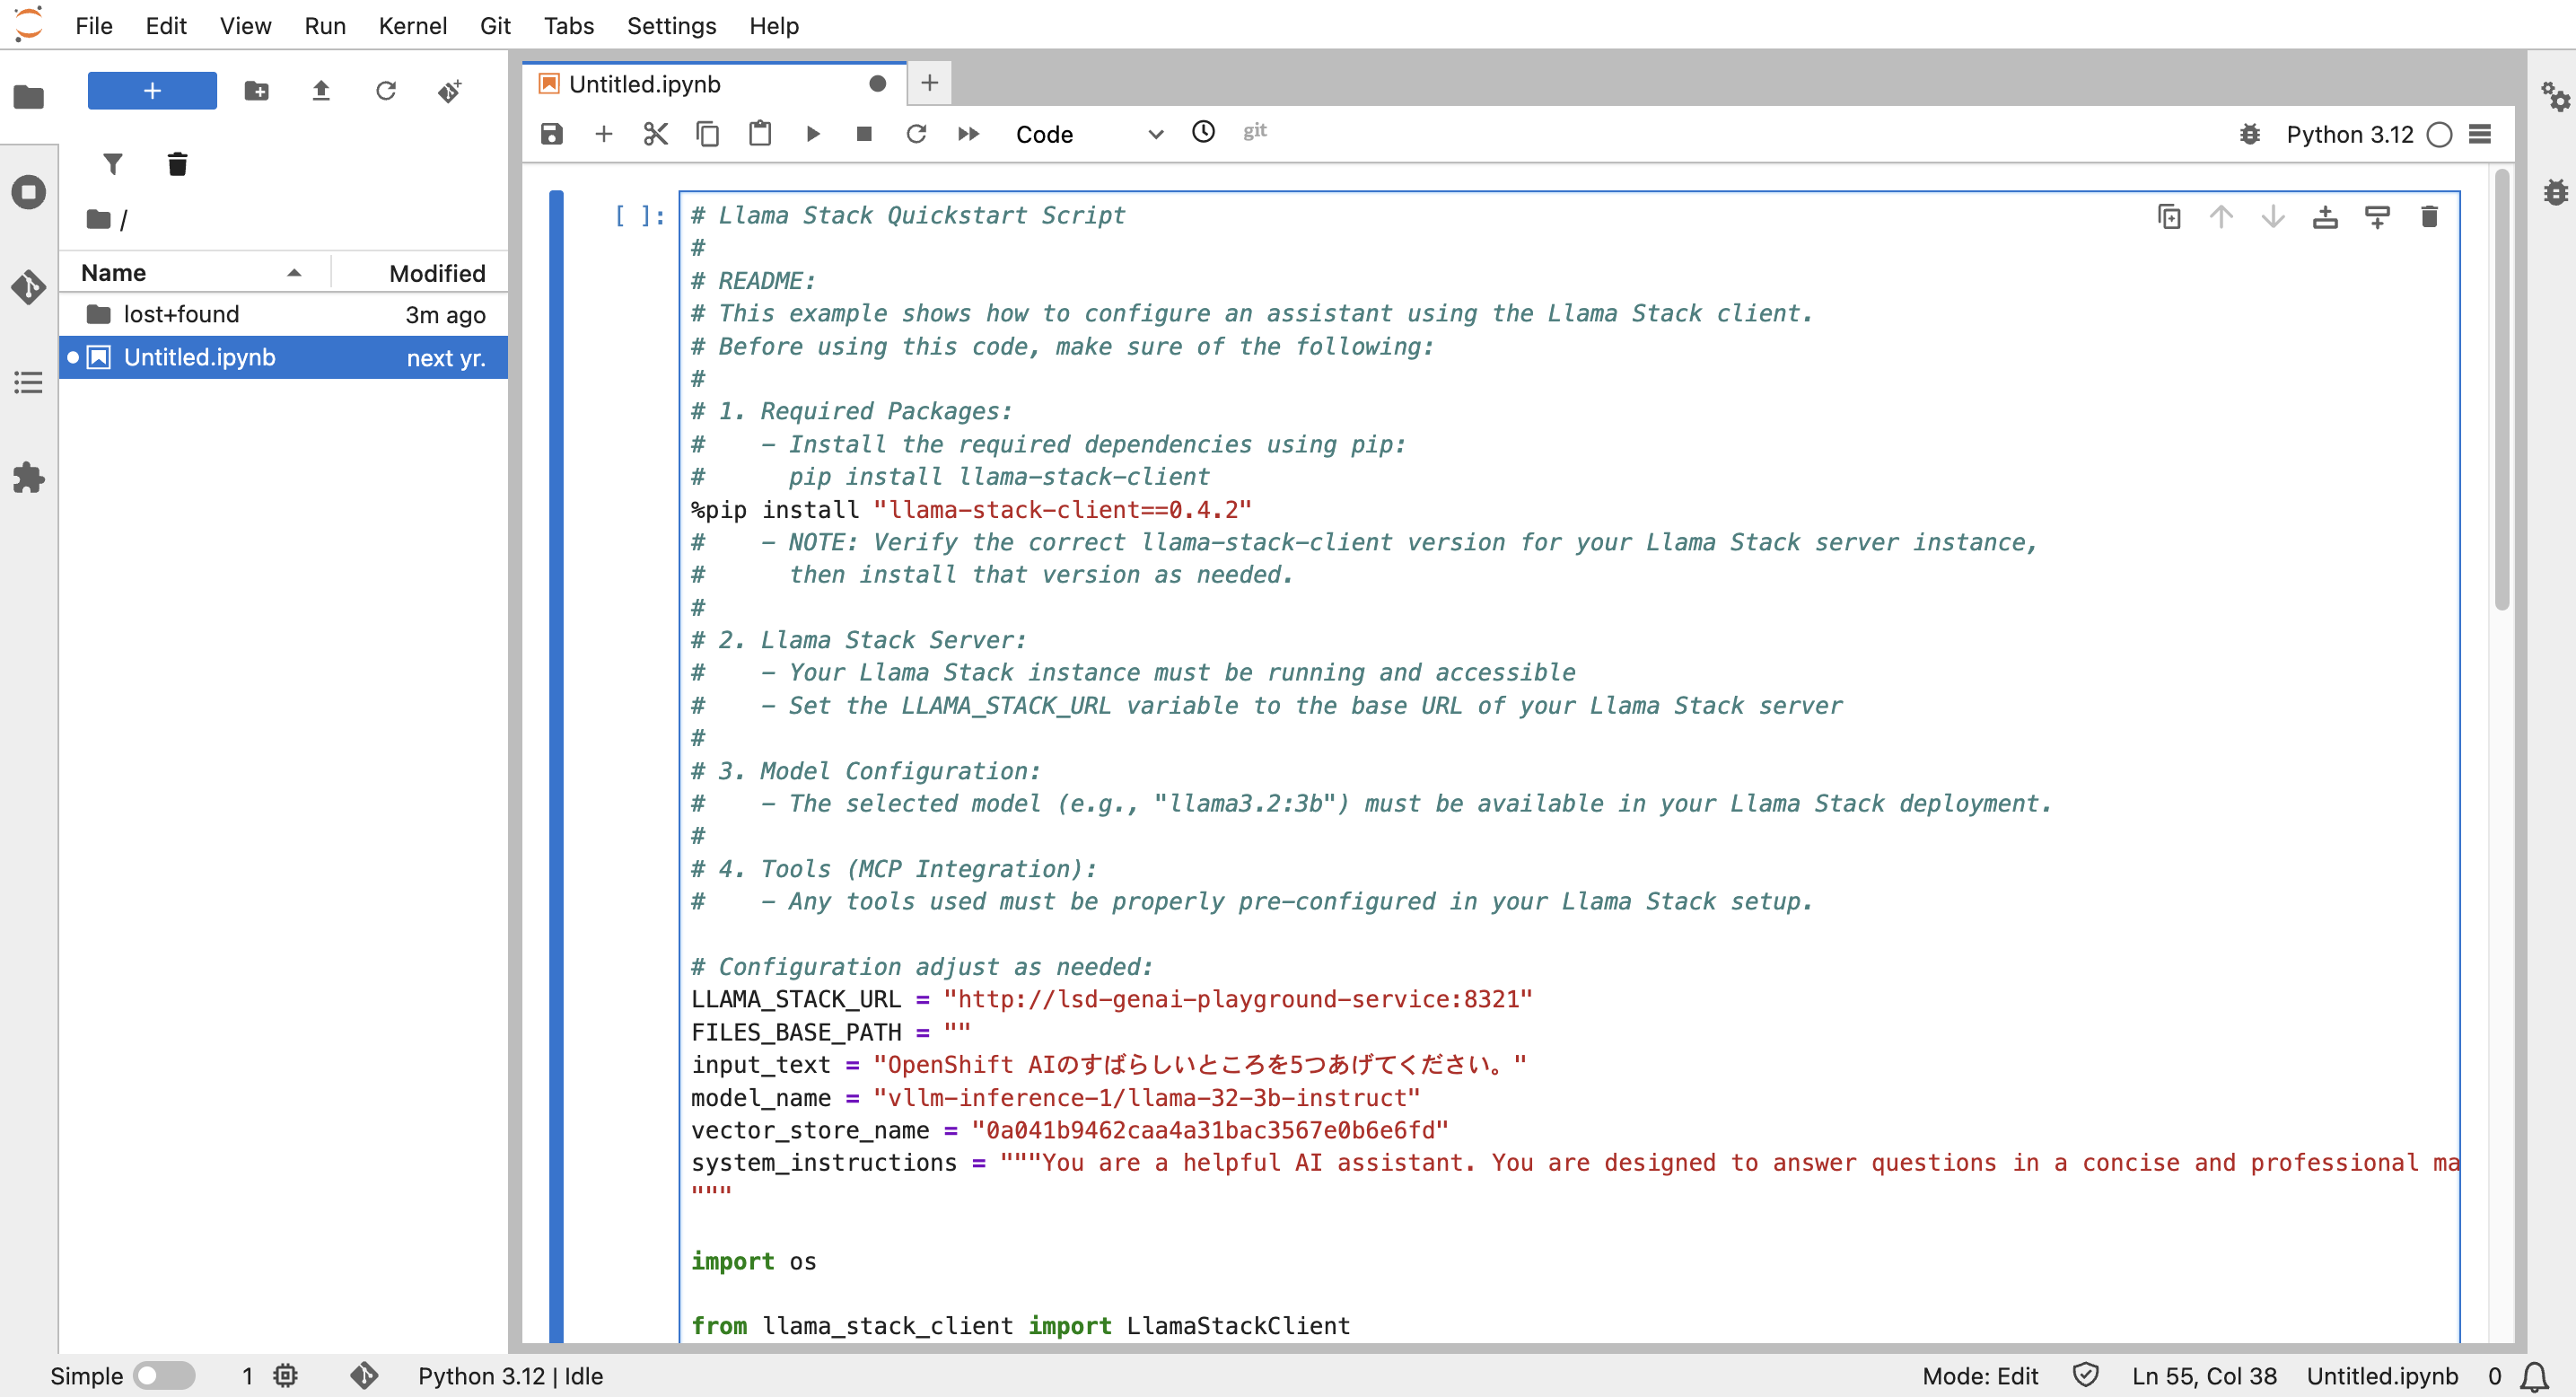
前のハンズオンでコピーしたコードを貼り付けます。
-
llama-stack-clientがインストールされていないので、インストールします。バージョンは0.4.2でないとエラーになるので、バージョンを指定します。
-
接続先を前のハンズオンで作成した Playground の llama stack serverに変更します。
(例)
# Llama Stack Quickstart Script
#
# README:
# This example shows how to configure an assistant using the Llama Stack client.
# Before using this code, make sure of the following:
#
# 1. Required Packages:
# - Install the required dependencies using pip:
# pip install llama-stack-client
%pip install "llama-stack-client==0.4.2"
# - NOTE: Verify the correct llama-stack-client version for your Llama Stack server instance,
# then install that version as needed.
#
# 2. Llama Stack Server:
# - Your Llama Stack instance must be running and accessible
# - Set the LLAMA_STACK_URL variable to the base URL of your Llama Stack server
#
# 3. Model Configuration:
# - The selected model (e.g., "llama3.2:3b") must be available in your Llama Stack deployment.
#
# 4. Tools (MCP Integration):
# - Any tools used must be properly pre-configured in your Llama Stack setup.
# Configuration adjust as needed:
LLAMA_STACK_URL = "http://lsd-genai-playground-service:8321"
FILES_BASE_PATH = ""
input_text = "OpenShift AIのすばらしいところを5つあげてください。"
model_name = "vllm-inference-1/llama-32-3b-instruct"
vector_store_name = "0a041b9462caa4a31bac3567e0b6e6fd"
system_instructions = """You are a helpful AI assistant. You are designed to answer questions in a concise and professional manner.
"""
import os
from llama_stack_client import LlamaStackClient
client = LlamaStackClient(base_url=LLAMA_STACK_URL)
# Create vector store
vector_store = client.vector_stores.create(
name=vector_store_name,
extra_body={
"provider_id": "milvus"
}
)
config = {
"input": input_text,
"model": model_name,
"instructions": system_instructions
}
response = client.responses.create(**config)
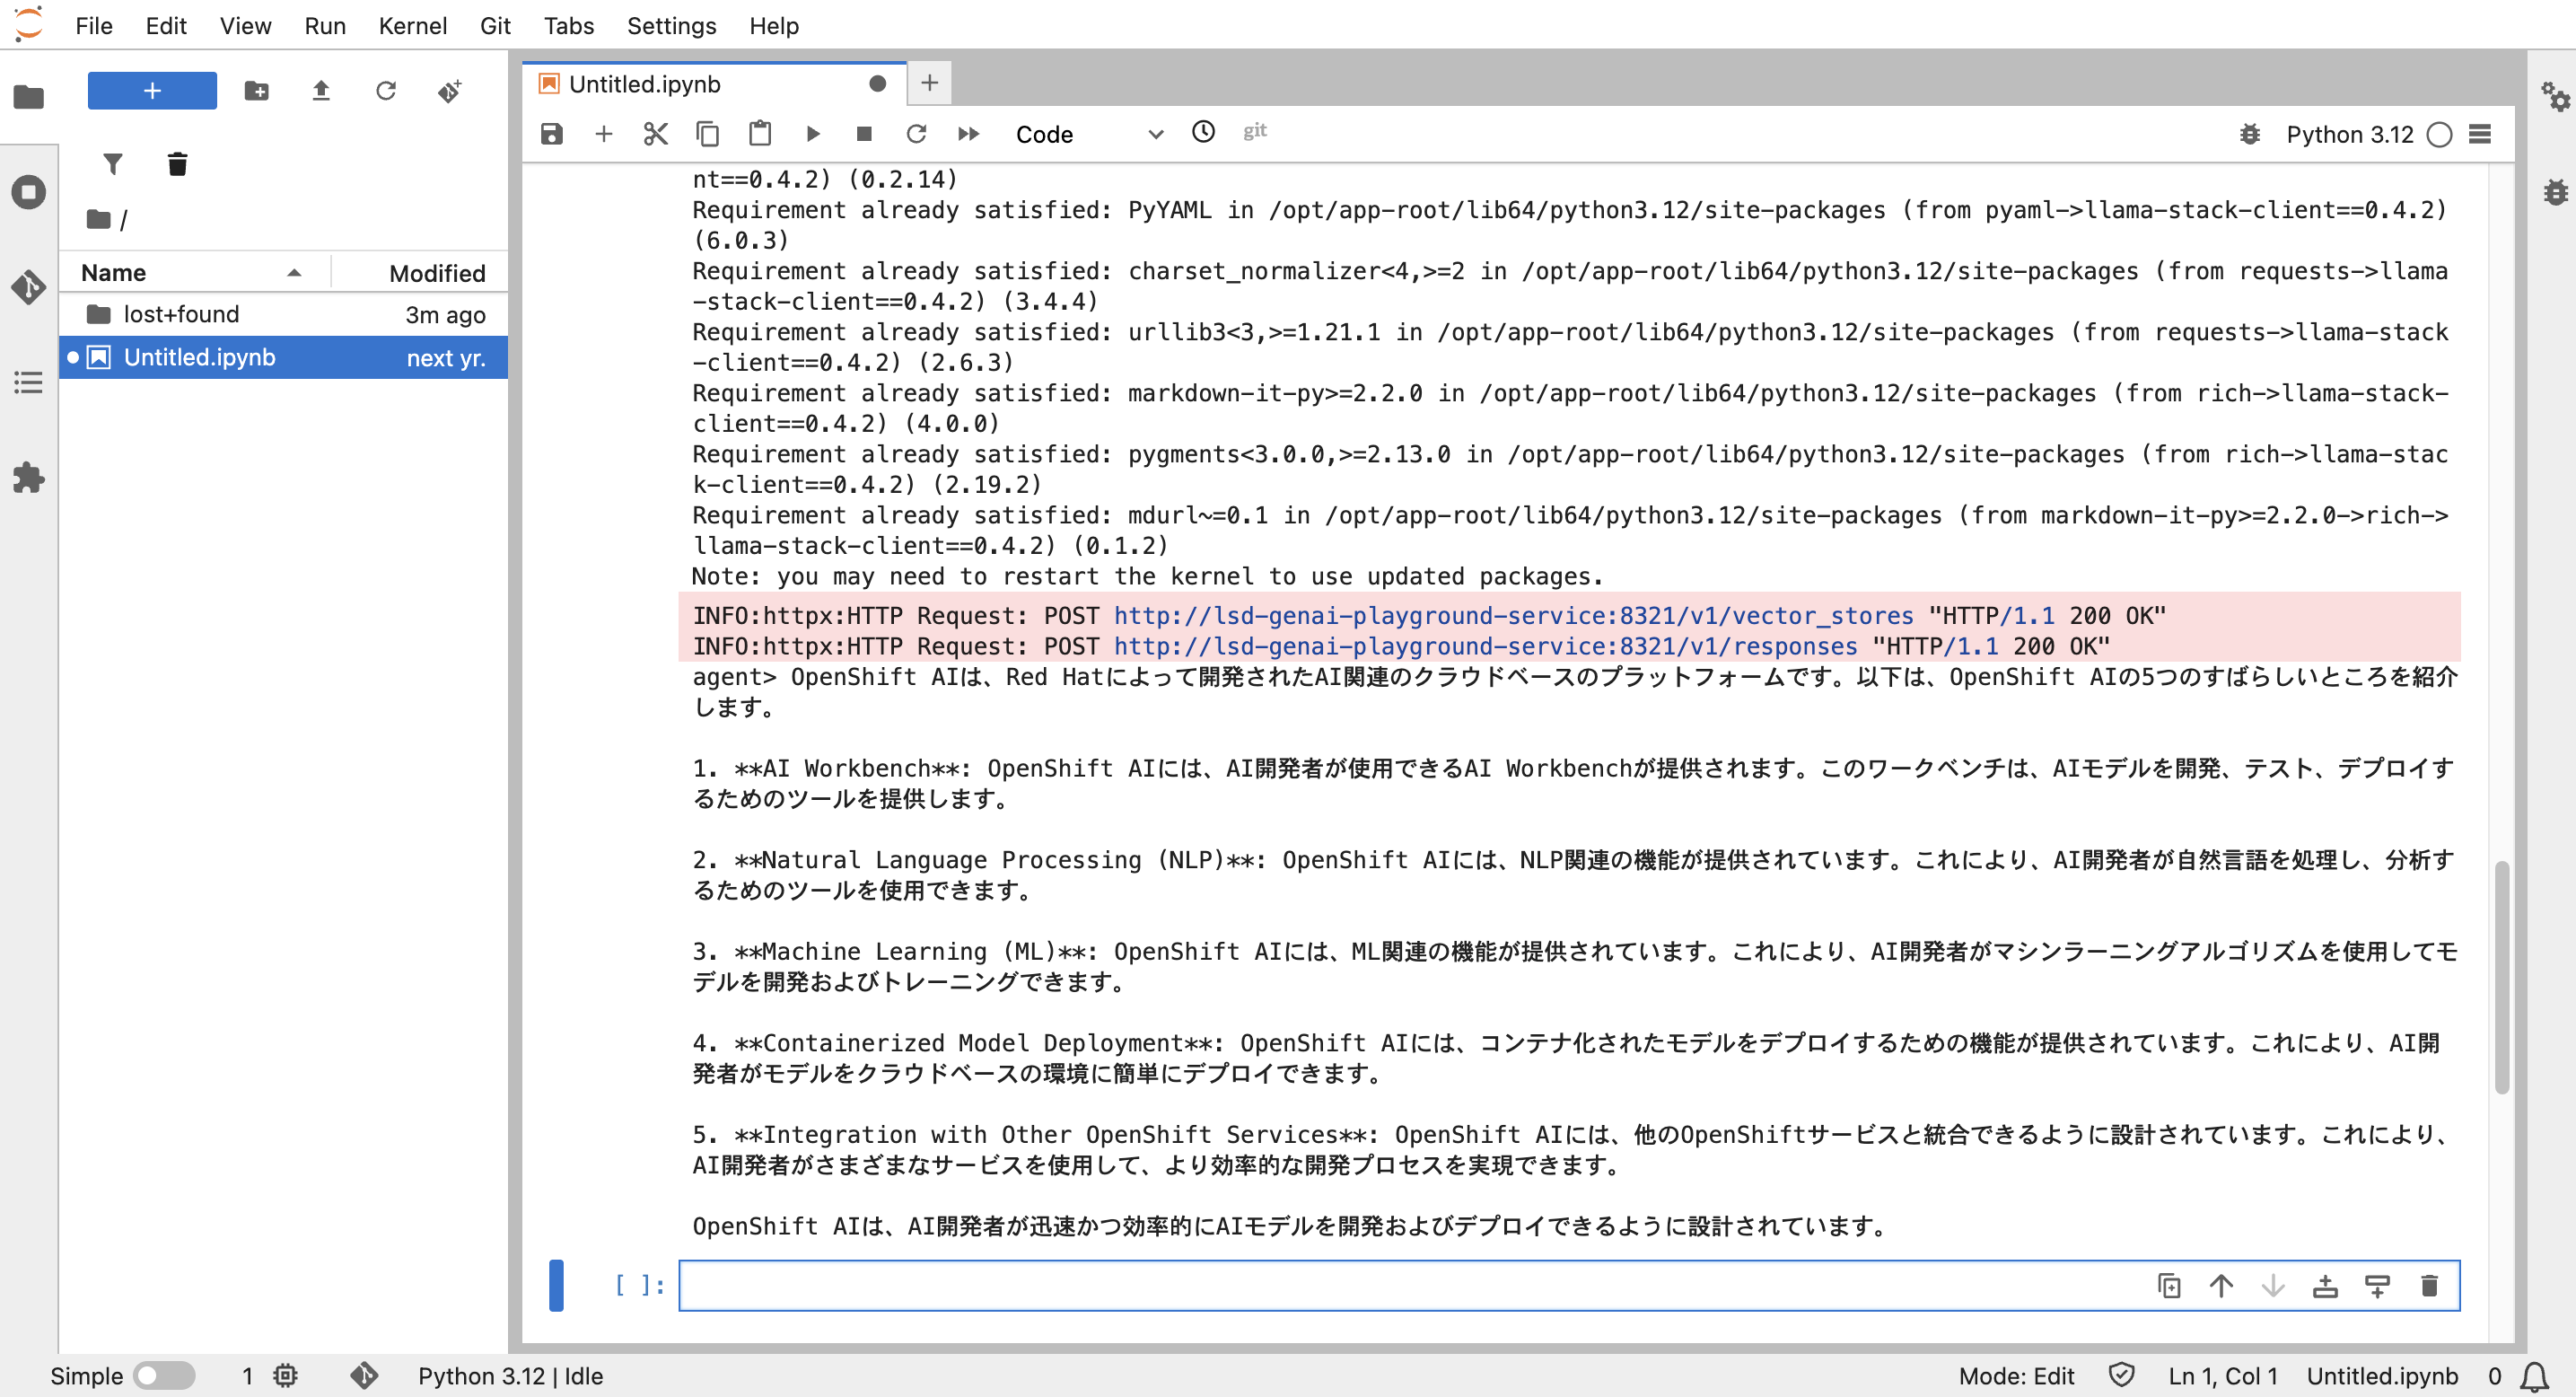
print("agent>", response.output_text)上のメニューの ▶︎ でコードを実行します。
実行結果:
以上で本日のワークショップは終了です。お疲れ様でした。